Last updated: October 21, 2026
Quick Answer: A soil berm can redirect shallow runoff away from a house in one weekend if it is broad, compacted in 3- to 6-inch lifts, and sloped away from the foundation. For the topic “How to Build a Soil Berm to Redirect Water Away from a House,” the main goal is to move surface water away without creating a new moisture trap.
A soil berm can push shallow runoff away from a house if it is shaped correctly, packed firmly, and tied into the surrounding grade. If the berm is too low, too loose, or sloped the wrong way, it will hold water near the foundation instead of moving it away.
Key takeaways
- A berm is a raised strip of soil that redirects surface water; it is not a cure for basement seepage or groundwater, and a drainage professional may be needed for those issues.
- The top should shed water away from the house, not form a flat ridge that soaks and collapses.
- Compaction matters as much as height. Loose soil settles and creates a dip where water collects; consult a professional if the site has persistent drainage problems. See the NRCS Conservation Practice Standard 342 for guidance.
- Smooth transitions into the yard prevent water from running around the berm and back toward the foundation.
- A berm works best on small runoff problems, not on yards with major grading defects or chronic foundation drainage issues.
What a soil berm can do, and where it falls short

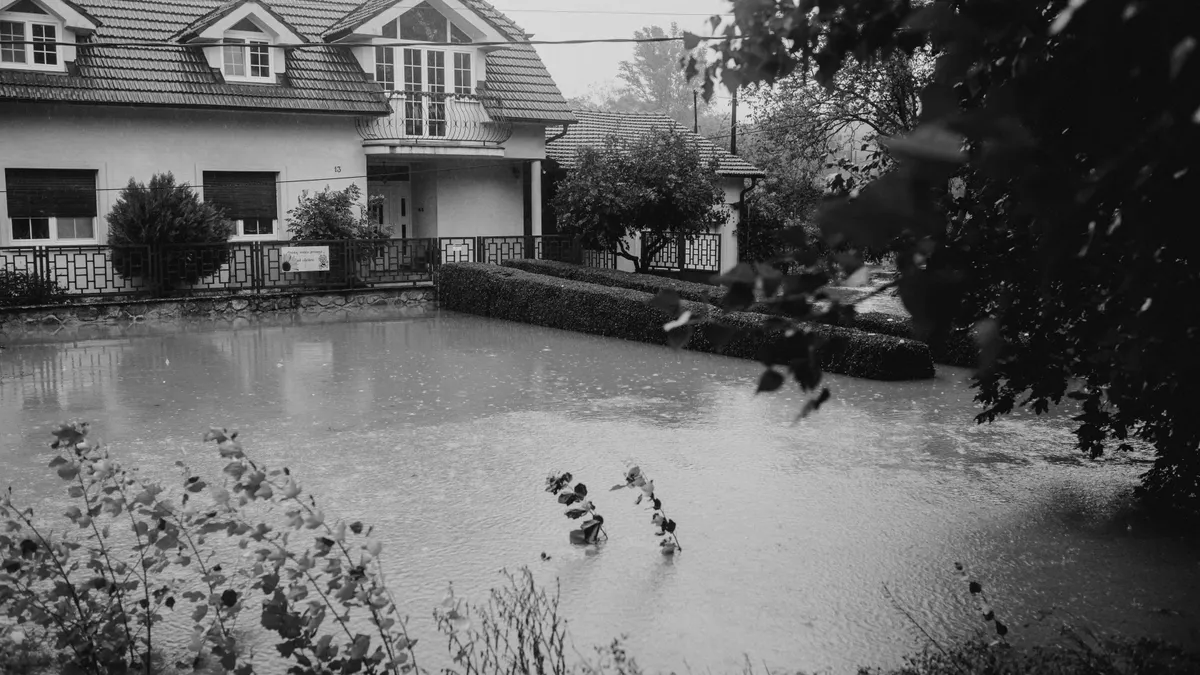
A soil berm can redirect shallow rainwater runoff that is moving across the surface of a yard, especially where the ground naturally falls toward a house. It works by creating a low ridge that changes the path of flow before water reaches the foundation.
It does not stop every kind of water problem. If water is coming from a downspout discharge, a clogged drain, a high water table, or a yard that slopes badly toward the structure, a berm alone will not solve it. In those cases, the berm may help at the edge, but the source still needs attention.
A berm also has limits near foundations. If the soil is placed too close to the wall or too high against siding, it can trap moisture where you do not want it. In plain terms, the berm should guide surface water away, not bury the house in soil.
The best use case is a small-to-moderate runoff path where rain travels across a lawn and pools near the house after storms, but only when the site has enough room for a broad, stable shape. If the problem is localized, a berm can be a practical fix because it is simple, visible, and adjustable. If the whole yard needs a new pitch, this page is not the right tool; that belongs to broader grading work. For that larger picture, the grading solutions and yard shaping hub is the better starting point.
A soil berm is also a temporary or intermediate solution in many yards. It is often easier to reshape a section of lawn with topsoil, a shovel, a rake, and a hand tamper than to redo the entire site. The trade-off is that a berm takes space. A strong berm needs width as well as height, so it may not fit where the house is tight to a property line, driveway, or walkway.
What you need before you start shaping the berm
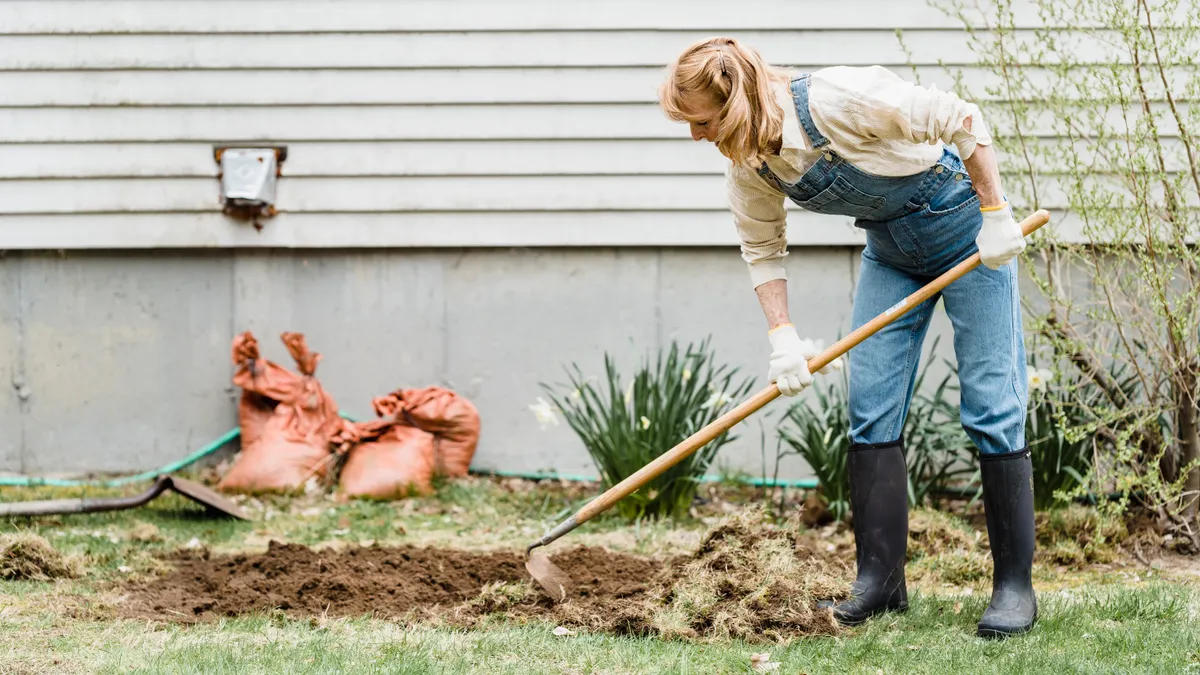
You need a shovel, a rake, a hand tamper, and enough topsoil to build a wide mound that can hold its shape after rain. You also need a hose or string line to show the intended path of water, plus a simple way to mark the high side and low side of the berm.
Start by watching the yard during or right after a storm. The goal is to see where water actually moves, not where it looks like it should move. A good berm goes across the flow path, slightly uphill from the area you want to protect.
Clear the strip where the berm will go. Remove grass clumps, sticks, loose mulch, and stones. A berm built on debris settles unevenly and leaves soft pockets that wash out.
Measure the available space. A berm that is too narrow often fails because it cannot be shaped with a gentle enough slope. As a rule of thumb, the base should be much wider than the top, since a narrow ridge is easy to erode and hard to compact. If you only have room for a thin lip, the better fix may be a different drainage approach.
Check the foundation zone first. The berm should not trap water against the house or block existing drainage exits. If there are downspouts, window wells, or foundation vents nearby, leave room for those features and do not pile soil against them.
Have enough material on hand to work in layers. Adding one large pile and pushing it around later makes it hard to control the final shape. Small lifts are easier to compact, and they give you a cleaner surface. A full berm can usually be built with several rounds of moving, shaping, and tamping rather than one dump-and-spread pass.
How to build a soil berm to redirect water away from a house
Build the berm in layers, compact each layer, and finish with a gentle slope that sends water away from the house. The order matters because shape alone will not hold if the soil is loose underneath.
- Mark the berm line a short distance from the house, then place the first soil lift along that line. Use topsoil in a continuous strip rather than separate piles. You should see a low ridge appear across the runoff path, with no gaps where water can slip through.
- Shape the base wider than the top, then pack the soil with a hand tamper. A stable berm usually needs a broad footprint, not a sharp crest. After tamping, the ridge should feel firm underfoot instead of spongy or crumbly.
- Add the next layer of soil, keeping the top slightly higher than the sides. Work in 3- to 6-inch lifts if the soil is loose, then tamp again. When this step is right, the berm will hold its shape instead of slumping outward.
- Slope the top and outer face away from the house with a rake. The finished profile should shed water away from the foundation, not create a flat shelf. You should be able to run the rake over it and see a smooth, continuous fall away from the wall.
- Blend the berm edges into the existing yard. Feather the ends so water does not swing around the berm and return toward the house. Good edge transitions look gradual, not like a dirt dam with sharp shoulders.
- Water the berm lightly, then let it settle before making final corrections. A light soak shows low spots and soft pockets without washing the shape apart. If the surface sinks in one area, add soil there and tamp again.
- Finish with a final rake and inspection after the first real rain. The berm should leave the protected side drier and move runoff along the outside face. If water is still crossing the line, the berm needs more width, better compaction, or a better angle to the flow path.
The most common mistake is making the berm too steep. A steep mound looks strong on day one, but rain attacks the face and sends soil downhill. A gentler profile lasts longer and spreads water instead of concentrating it.
The second mistake is leaving the crown flat. A flat top catches water like a tray. The result is puddling on the berm itself, which leads to softening and collapse. The crown should be shaped to shed water to the outside.
The third mistake is building only at the problem spot and ignoring the ends. Water often goes around a berm, not through it. That is why the edge transitions matter as much as the center.
How tall should the berm be?
A drainage berm should be tall enough to change the flow of shallow water, but not so tall that it becomes a hard obstacle near the house. The right height depends on the slope of the yard, the volume of runoff, and how much width you have to work with.
For many small residential runoff problems, a modest berm is enough if it is broad and compacted. A short, wide berm often performs better than a taller, narrow one because it is less likely to wash out and easier to blend into the yard. If you only increase height and ignore width, the soil tends to slump.
Height should also be read against nearby features. A berm that is too close to siding, window wells, or low vents can create a new moisture problem. Keep the finished soil profile from piling against the house itself.
A useful way to think about the berm is as a guide, not a wall. The soil should persuade water to move sideways or away, then let it continue across the yard on a safer path. If the berm needs to be very tall to work, that usually signals a larger drainage issue that a simple soil ridge is not meant to solve.
After shaping, check the berm from the house and from the yard. From the house side, the line should not look like a dam that traps water against the foundation. From the yard side, it should look like a low, intentional ridge that merges into the landscape.
Compaction and surface shaping are what make it last
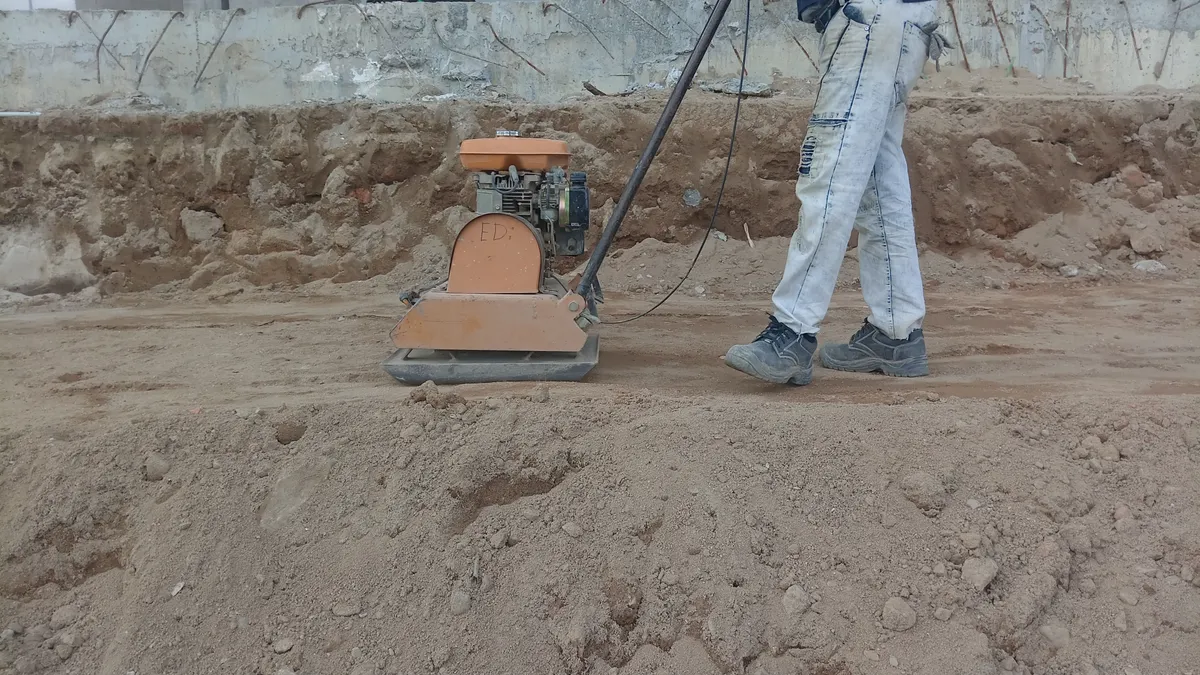
Compaction is what keeps a berm from sinking, cracking, and opening channels after the first few storms. A hand tamper is enough for a small residential berm if the soil is placed in thin lifts and packed as you go.
Loose soil settles unevenly. When that happens, the top dips, the edges crumble, and rainwater finds a low path right back toward the house. Compacting between layers helps prevent that collapse and gives the berm a denser body; if the site is difficult or the water issue is serious, consult a drainage professional. See the EPA’s guidance on runoff and stormwater for more context.
Surface shaping matters just as much. The finished berm should have a smooth, continuous grade with no sharp dips, ridges, or potholes. Those flaws collect water and create weak spots. After tamping, rake the surface lightly to remove tool marks, then tamp again where the rake exposed soft soil.
Pay attention to the transitions. The ends of the berm should taper gradually into the yard, and the soil on the outside face should not drop off suddenly. A clean transition helps water keep moving instead of pooling at the edge.
If the berm will remain bare for a while, expect some settling after the first rain or two. That is normal. What is not normal is a channel forming through the ridge or a wet seam running straight toward the foundation. If that happens, rebuild the low section and compact it better.
For a long-lasting result, the shape must do the work, not just the pile of soil. A berm that looks high but feels soft is usually a short-lived fix.
When a soil berm is the wrong fix
A soil berm is the wrong fix when the water problem is not surface runoff or when the yard does not give the berm enough room to work. If water is coming through the foundation, rising from below, or entering through a failed drain, a berm will not solve the root cause.
It is also a poor choice where the space between the house and the property edge is too tight to build a wide, sloped ridge. In that situation, the berm may end up too steep, too narrow, or too close to the structure. That can create more maintenance than it saves.
Do not use a berm to hide a drainage failure that needs a larger correction. If the house already has signs of serious moisture intrusion, repeated basement flooding, or erosion near the foundation, the safer move is to get a drainage professional involved before adding soil. This is especially true where the problem affects structural areas or where utility lines, window wells, or hardscape are nearby.
A berm is also not a good substitute for proper yard grading. If the whole lot pitches the wrong way, a small ridge may help one stream of runoff but leave the rest of the site unchanged. In that case, the berm can become a patch on a larger grading issue instead of a durable solution.
The honest test is simple: if the berm can be built broad, compacted, and smoothly blended without crowding the house, it is worth trying. If it cannot, stop before you build a dirt feature that creates a new water trap.
Finish and monitor the berm through the first storms
Finish the berm by checking it after one or two rain events and touching up any settlement, breaks, or low spots. The first storms are the real test, and they will show whether the water is being redirected or just redirected for a moment.
Walk the length of the berm while the ground is wet. Look for three things: water crossing the top, water collecting on the house side, and water cutting around the ends. Each problem points to a different fix. Crossing water means the berm is too low or too flat. Collection on the house side means the slope is wrong. Water around the ends means the berm needs longer transitions.
If the shape holds, let it remain and keep an eye on it through the season. A berm may need minor re-tamping after settling, especially after heavy rain. Small corrections made early are easier than rebuilding a washed-out section later.
If the berm performs well, you can finish it with grass or another suitable surface once it has stabilized. A planted surface helps hold soil in place, but the underlying shape still has to be right. Vegetation is a finish, not a substitute for compaction.
For related yard-shaping work, the grading solutions and yard shaping hub covers the larger picture of moving water across a property. This page stays focused on one job: building a soil berm that redirects shallow runoff away from a house.
Can a berm stop water near a foundation?
A berm can help redirect shallow surface water before it reaches a foundation, but it cannot solve every moisture problem. It works best on runoff moving across the yard after rain. It will not fix groundwater, a failed drain, or a yard that slopes badly toward the house.
How tall should a drainage berm be?
A drainage berm should be just tall enough to redirect water and no taller than the space allows with a broad, stable shape. A wide, low berm is usually better than a narrow, steep one. If the berm needs to be very tall to work, the site likely needs broader grading work.
Does a berm need compaction?
Yes, a berm needs compaction or it will settle, sink, and open channels where water can pass through. Pack the soil in layers with a hand tamper as you build it. Firm soil holds shape better, sheds water more evenly, and is less likely to wash out after the first storms.
Drafted with AI; not yet reviewed by a person.