Last updated: October 24, 2026
Quick answer: a reverse slope near the foundation is usually fixed by removing high soil at the wall and rebuilding the yard so water falls away from the house; for many homes, the correction uses the first 4 to 10 feet of yard space and can be handled as a cut-and-fill regrade. If you are dealing with How to Fix a Reverse Slope in a Yard Near the Foundation, start by checking the grade before you add any soil.
A reverse slope near the foundation is fixed by removing soil where it sits too high, then rebuilding the yard so the ground falls away from the house with a stable reverse slope correction. If water is already running toward the foundation, the goal is not to “level” the yard; it is to reset the grade at the foundation edge and the first several feet outward so water leaves the house instead of collecting there. For a practical standard, the International Residential Code requires surface drainage to slope away from foundation walls for at least the first 10 feet where possible, at a minimum fall of 6 inches in 10 feet (IRC R401.3).
Key takeaways
- The fix usually starts with a string line, a level, and a simple slope check at the foundation edge.
- Most reverse slopes come from settled fill, dumped topsoil, or prior landscaping that raised the yard too close to the house.
- The correction is usually a cut-and-fill job: remove high soil near the wall, then place and compact fill dirt farther out.
- Topsoil belongs on the surface layer, not as the bulk material that creates the slope.
- Settling is normal after fill placement, so the finished grade should be checked again after rain and after a few weeks.
- If the foundation itself has cracks, movement, or standing water against the wall, the grading fix may not be enough by itself.
What a reverse slope near the foundation usually looks like
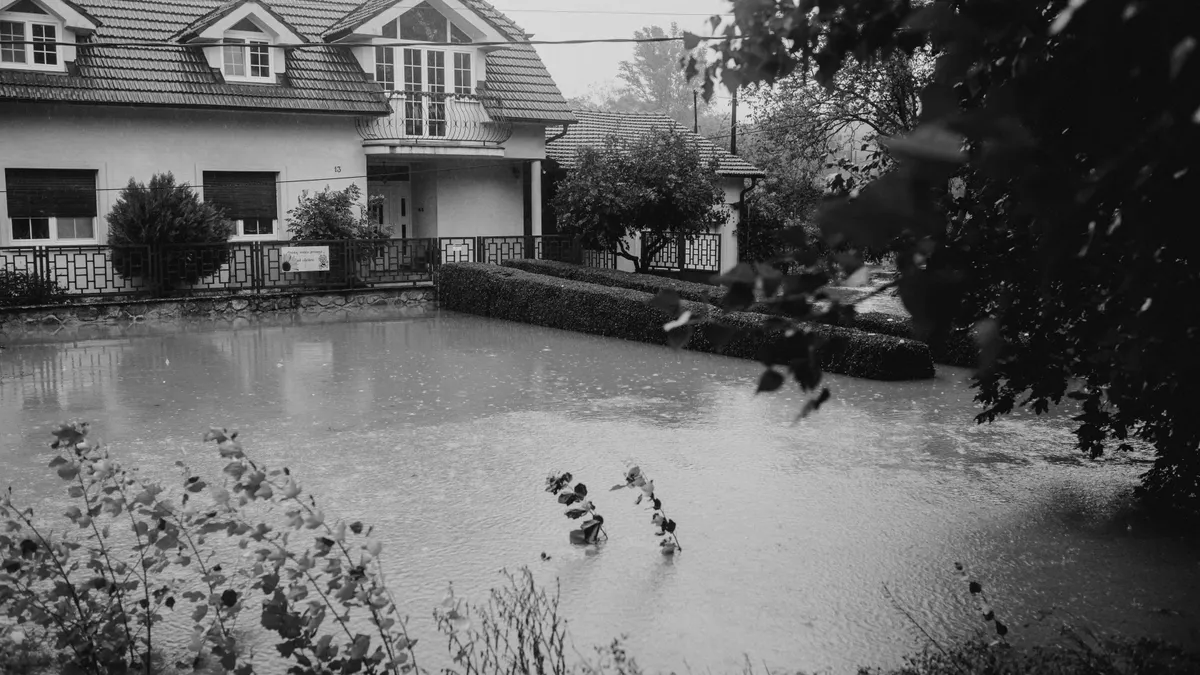
A reverse slope near the foundation means the ground falls toward the house instead of away from it. You can often spot it when mulch, soil, or sod sits higher near the wall than it does 4 to 6 feet away, or when water puddles along the foundation after rain.
The common causes are practical, not mysterious. A homeowner may have added topsoil over time, a landscape crew may have built up a bed too high, or old fill dirt may have settled unevenly and left a trough farther from the wall. Sometimes the original yard was fine, but later additions changed the shape around the foundation edge.
The first check is simple: stretch a string line along the side of the house and use a level or line level to see whether the line drops away from the foundation or rises toward it. A short 2-foot level can show the problem at the wall, but a longer straightedge or string line helps reveal the larger pattern over 6 to 10 feet. What matters is not making the whole yard flat; it is getting the first stretch of ground to move water away from the house.
This page is about correcting that slope problem at the foundation edge, not about redesigning the whole yard. For broader yard-shaping decisions, the hub on grading solutions and yard shaping can sit alongside this fix, and related drainage planning often connects with downspout extensions, French drain installation, and foundation waterproofing.
What you need before you start
You need a string line, a 2- to 4-foot level, a shovel, a rake, a tamper or hand compactor, and enough fill material to rebuild the low area. In most cases, the fill should be dense fill dirt for the lower layer and topsoil only for the last surface layer if you want grass back.
You also need a way to move soil, which may mean a wheelbarrow for a short run or a small skid steer for a larger one. If the correction area is narrow, a flat shovel and a landscape rake can be enough. If the area is wide, a tamper matters because loose soil settles fast and can undo the fix in a single season.
Before you dig, look for a few things that change the plan. Downspouts, window wells, patios, sidewalks, and utility boxes can limit how far you can change the grade. If the soil is already pressed against siding or above the bottom of exterior trim, that soil usually needs to come down before any new fill goes in.
A useful rule of thumb: do not start adding new soil until you know where the finished surface should land relative to the wall. If you skip that first measurement, you can easily make the reverse slope worse by building a pretty surface that still drains the wrong way.
How to fix a reverse slope in a yard near the foundation
Fix it by regrading the first few feet away from the house, with cut soil removed near the wall and new fill placed farther out. The work is straightforward if the foundation itself is stable and the problem is mostly surface grade.
- Mark the problem zone 6 to 10 feet out from the foundation. Run a string line parallel to the wall and check the slope at several points. You want to see where the ground rises toward the house or stays flat instead of falling away. When this step works, you have a clear map of the high spots, low spots, and the section that actually needs changing.
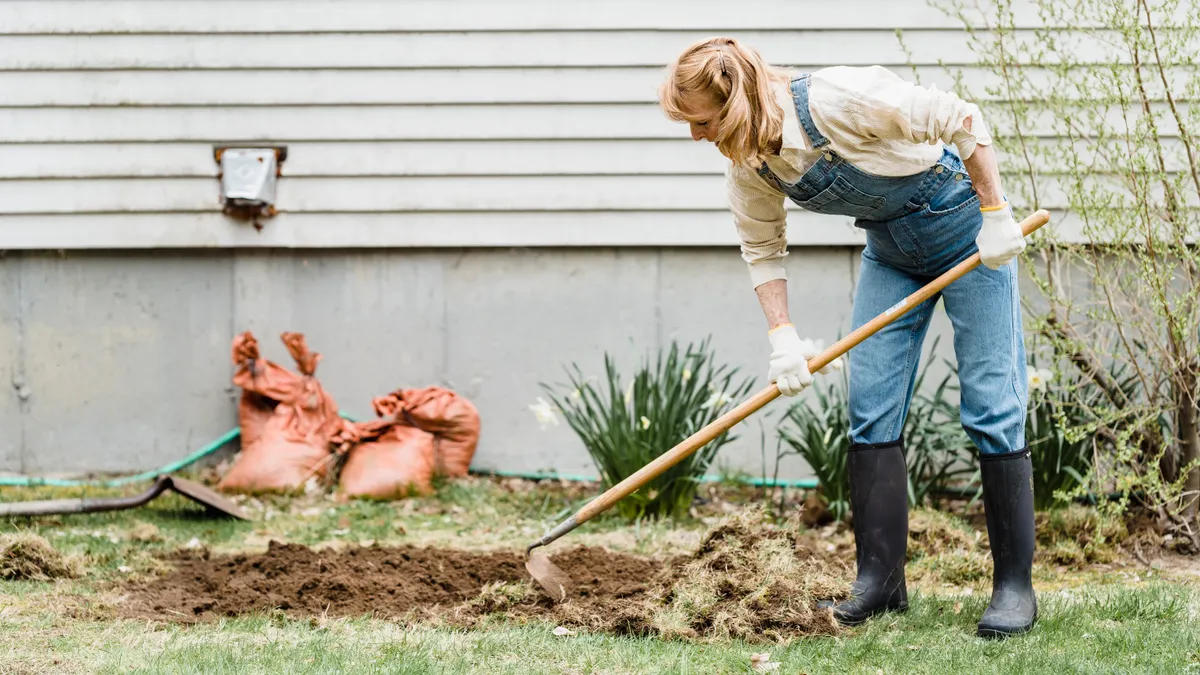
- Strip back sod, mulch, and loose topsoil from the high area near the wall. Pull away the surface material first, especially within the first 2 to 4 feet. That lets you see the true grade and keeps you from burying siding or brick veneer later. A clean strip of bare soil near the foundation tells you the correction is ready to measure, not guess at.
- Cut down the high soil near the foundation edge. Remove enough soil so the ground can fall away from the house without building a hump. Use the foundation as your reference and keep the soil below the bottom of siding, stucco, or veneer details. If this step is done right, the area next to the wall looks lower and more open, not piled up against the house.
- Place fill dirt in the lower area farther from the wall. Add fill in thin lifts, usually 2 to 4 inches at a time, then spread it outward so the slope stays continuous. The goal is a smooth transition, not a sharp ridge. After a good pass, the yard should look like it drops away in one steady plane instead of dipping and then climbing.
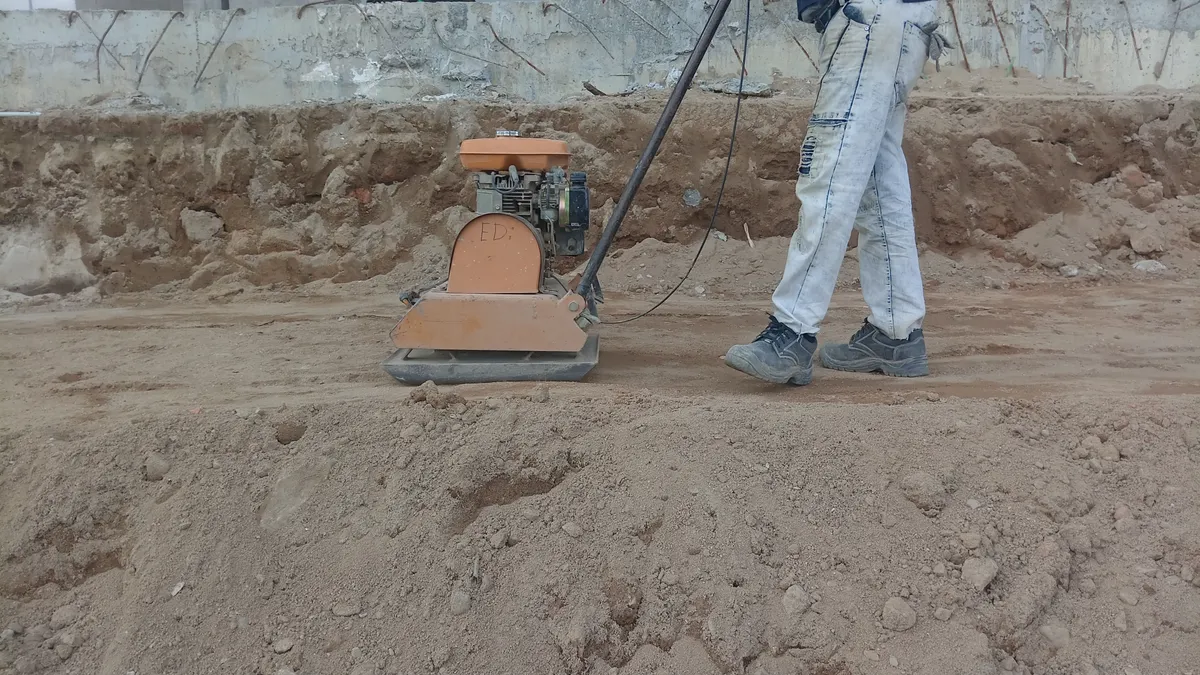
- Compact each lift before adding the next one. Tamp the soil or run light equipment over it so the grade does not settle into a new hollow later. Loose fill can lose height after rain, and that settling can re-create the reverse slope. When compaction is right, foot traffic leaves less than a loose, sponge-like impression.
- Cap the surface with topsoil only where you need planting. Spread a thin layer of topsoil over the finished grade, usually just enough to support seed or sod. Do not use thick topsoil as the structural fill, because it settles more than dense fill dirt. If this step is done well, the surface is plantable without changing the slope you just built.
- Water lightly and recheck after the first soak and after the next rain. Look for low spots, ponding, or areas that still tilt back toward the house. Small corrections are easier now than after the lawn is established. A finished slope that still sheds water away from the foundation is the sign the job held.
The common mistake is to add dirt only at the outer edge and leave the first few feet by the wall unchanged. That creates a berm, not a fix. Another mistake is using only topsoil because it is easier to spread. Topsoil is fine as a finish layer, but it is too soft to carry the shape by itself.
Why the repair often fails the first time
It often fails because the new grade settles, the slope is too short, or the soil was built up without cutting the high area first. A reverse slope near the foundation is not fixed by piling more dirt against the house and hoping it sheds water later.
Settling is the quiet problem. Fresh fill dirt can compact after several rains, and a lawn that looks right one week can sag the next. That is why thin lifts matter. A 3-inch lift compacted twice will usually behave better than a 10-inch dump that gets shaped once and forgotten.
The slope itself also needs room to work. If the ground only falls away for 1 or 2 feet, water may still sit beside the wall before it has anywhere to go. A broader transition, often 6 feet or more where space allows, gives runoff a chance to move away naturally. This is why a narrow strip of decorative soil near the foundation can be the wrong answer even when it looks neat.
Another failure point is buried debris. Old roots, construction rubble, and buried clay pockets can make one part of the yard settle slower than the rest. If the area has a stubborn dip after repeated correction, the soil profile may need more excavation than a simple top-dress can handle.
Materials that work and materials that cause trouble
Dense fill dirt is the right base for the slope, while topsoil is the right surface for planting. That distinction matters because the two materials behave differently. Fill dirt is used to build shape; topsoil is used to grow grass or other plants.
If the yard needs a long, stable correction, use fill dirt first and save topsoil for the final 1 to 4 inches, depending on the planting plan. That gives the grade structure without sacrificing the surface you want. If you put topsoil under the whole repair, the yard may look finished for a month and then sink.
Moisture matters too. Slightly damp soil compacts better than dusty, dry soil, but wet clay can smear and hold water. If the soil is sticky enough to roll into a ribbon in your hand, it may be too wet for clean grading work. If it is powdery dry, it may need light watering before compaction.
Avoid using mulch, compost, or loose organic material as the main grade-building layer near the foundation. Those materials break down and settle too much. They are useful on top of the soil, not as the base that controls where water goes.
When a reverse slope correction is the right fix — and when it is not
A reverse slope correction is the right fix when the main problem is shape, not an active drainage system failure. If water is running toward the house because the yard rises the wrong way, regrading the foundation edge is the direct cure, but a professional should confirm that no hidden drainage or structural issue is driving the water toward the wall.
This is not the right fix for every wet yard. If water is coming from an uphill neighbor’s property, from a clogged drain line, or from a low point far outside the foundation zone, soil correction alone may not solve the issue. If the wall itself is bowing, cracking, or showing signs of movement, the grading problem may be part of a larger structural issue. The U.S. Environmental Protection Agency also notes that water management around the home should address runoff and site drainage together, not as isolated problems (EPA: Protecting Your Home from Water Damage).
There is also a limit to what surface grading can safely do. If the soil must be raised too high near the house to make the slope work, you can create clearance problems at siding, brick weeps, vents, or window wells. In that case, the correction may need to be redesigned rather than forced.
For a homeowner who wants the simplest honest answer: fix the slope if the ground is wrong, but do not use grading to cover a deeper water or foundation problem. If the repair needs to protect a basement wall, a crawl space, or a damaged foundation, a qualified contractor or structural professional may be the better next step.
What to check after the repair settles
Check the grade again after the first heavy rain, then again a few weeks later. The repair is holding if water moves away from the wall, the surface stays smooth, and no new puddle forms along the foundation edge.
Walk the line where the wall meets the soil and look for three things: settled hollows, exposed roots, and soft spots that feel lower than the surrounding ground. A straightedge or string line makes this easy. If one section has dropped by even a small amount, add soil there before the lawn is established.
If the area is seeded, do not let the final grade drift while the grass is coming in. Seed can hide a problem until the first storm. If the area is sodded, the sod may mask a bad slope for a short time, but water will still follow the ground under it.
A clean result is simple to describe: the ground at the foundation edge is the highest point in the correction zone only in the sense that it sits safely above the surrounding yard, and the yard then falls away in a steady line. That is the sign the reverse slope correction did its job.
What is a reverse slope in a yard?
A reverse slope in a yard is a grade that falls toward the house instead of away from it. That means rainwater can move toward the foundation edge, where it may collect beside the wall. The problem is usually visible in the first few feet around the house, especially where soil or mulch has been added over time.
Can you correct a reverse slope without a full regrade?
Yes, if the problem is limited to the area near the foundation. A partial reverse slope correction often works when you remove high soil near the wall, place fill dirt farther out, and reset the surface with a steady fall away from the house. If the whole yard drains wrong, a partial fix may not be enough.
How close to the house should soil slope away?
The soil should start sloping away immediately at the foundation edge and continue outward across the correction zone. The key is not a single magic distance but a continuous fall away from the house, usually across the first several feet. Soil should also stay below siding, brick veneer details, and other exterior materials that should not be buried.
Drafted with AI; not yet reviewed by a person.