Last updated: October 24, 2026
Quick answer: in a small yard, you can find the highest and lowest points by setting one fixed reference line and comparing each spot against it. The simplest method uses a line level, string, wood stakes, and a tape measure; a laser level is faster if you already have one.
A small yard’s highest and lowest points are found by setting one reference elevation, then comparing every other point against it. This article on how to find the highest and lowest points in a small yard uses a simple yard profile so you can spot relative elevation changes without survey equipment.
Key takeaways
- Pick one fixed reference point before you measure anything else.
- Compare spot elevations, not just what looks “higher” or “lower” to the eye.
- A string line and line level can map a small yard well enough for planning.
- A laser level makes the job faster, especially when the yard has corners or a tight slope.
- The highest point is the place with the smallest drop from your reference; the lowest point is the place with the biggest drop.
Start with a reference point and a simple yard profile

The first step is to choose one benchmark that will not move while you work. A porch step, a driveway edge, or a stake set in firm soil can work if it stays fixed for the whole job. For a small yard, the goal is not to build a survey-grade map; it is to create a clear yard profile that shows relative elevation change from point to point.
Pick a day when the ground is dry enough to stand on without sinking. If the soil is soft, a shoe print can distort what looks like a low area by 1/2 inch or more. Walk the yard and notice obvious shape changes: a hump near the center, a dip by a fence, or a fall toward a patio. That visual grading check does not replace measurements, but it helps you decide where to place stakes.
Set your benchmark at a spot you can return to easily. If you use a stake, drive it straight and leave enough of it visible to tie string to later. If you use a hardscape edge, mark it with tape. Then decide whether you want to map the whole yard or just the area that matters most, such as a 10-foot-by-10-foot lawn panel. The smaller the yard, the more important it is to use a tight grid rather than guessing from the perimeter alone.
This is the point where many people go wrong: they start measuring from wherever they happen to stand. That creates a stack of unrelated numbers. A single reference point lets every measurement tell the same story.
What tools you need to spot high and low points
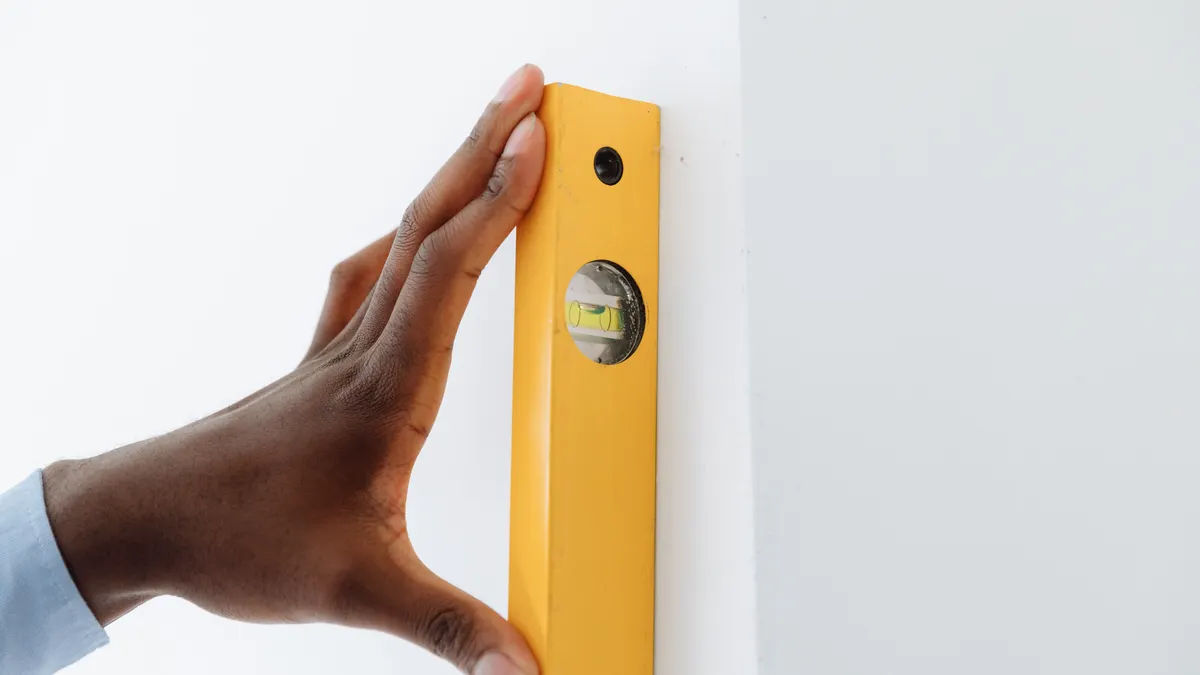
A line level, string, wood stakes, a tape measure, and optionally a laser level are enough for most small yards. A carpenter’s level can help on short spans, but it is less useful once the ground changes in several directions. The tools do not need to be expensive; precision matters more than price.
Here is the practical set:
- 2 to 6 wood stakes, depending on yard size
- Mason’s string or similar taut cord
- A line level that clips onto the string
- A tape measure marked in inches
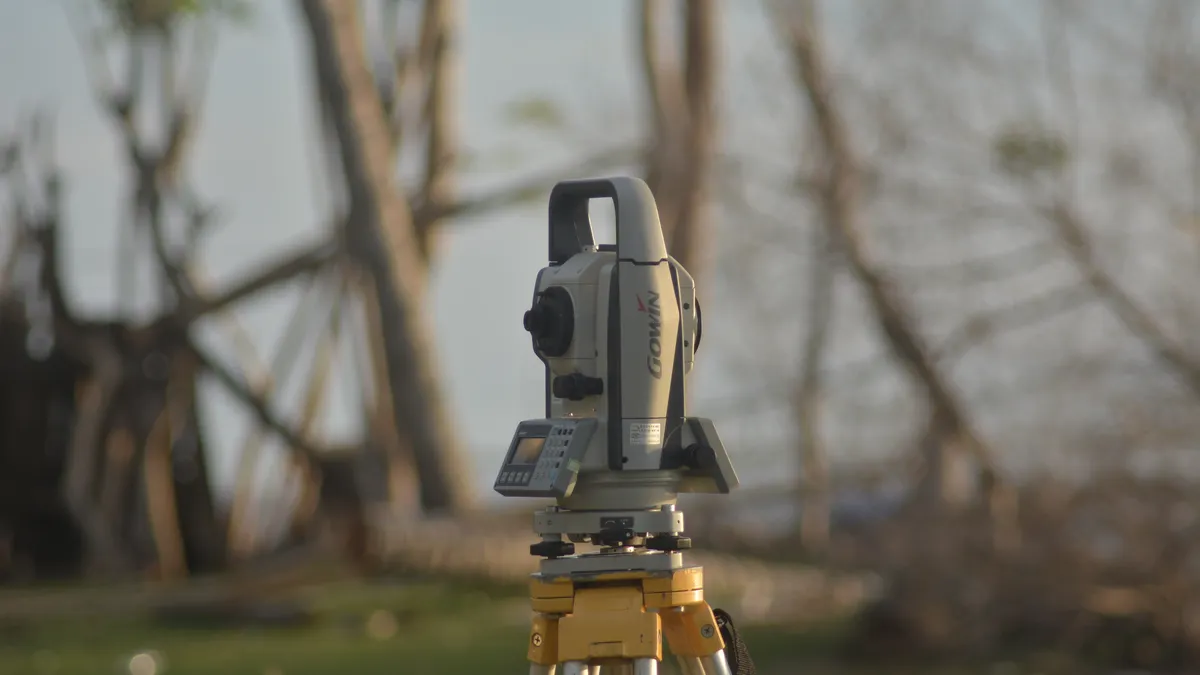
- A laser level if you want faster readings over longer stretches
- Marker flags or scrap pieces of tape for noting spots
The line level is the most accessible tool for this job. It hangs on a string and tells you when the string is level between two stakes. From there, you measure down to the ground at each point. A laser level does the same job by projecting a level plane across the yard, which saves time when there are many spot levels to check. The trade-off is cost and setup. A laser level usually costs more than a line level, and it helps most when the yard is larger than a few dozen feet or when you want to check several directions quickly.
Do not rely on a garden hose full of water unless you already know how to use it carefully. It can work, but it is awkward in a cramped yard and easy to misread. For a small yard, the string-and-level method is usually cleaner.
How do you find the highest and lowest points in a yard?

You find them by measuring every spot against the same level line and comparing the numbers. The spot with the shortest drop from the line is the highest point; the spot with the longest drop is the lowest point.
Follow these steps in order:
- Set two stakes and stretch a string between them. Place them across one part of the yard, such as 8 to 12 feet apart, and clip on the line level. Adjust the string until the bubble centers. When it works, the string is level and ready to act as your reference plane.
- Measure from the string straight down to the ground at each stake. Use a tape measure and record both distances in inches. If one side reads 5 inches and the other reads 9 inches, the 9-inch side is lower by 4 inches relative to the string.
- Move one stake and repeat the measurement across the yard. Leapfrog the setup by 6 to 10 feet so you cover the whole small yard. The result is a chain of readings that lets you compare spots without losing the same reference.
- Mark each reading on a sketch of the yard. Write the distance next to the point where you measured it. A simple grid or rough box drawing is enough. When the map works, the numbers cluster into a pattern instead of feeling random.
- Look for the smallest and largest measurements. The smallest ground-to-string distance marks the high point. The largest distance marks the low point. If two spots differ by only 1/4 inch, mark both; tiny differences matter in a small yard.
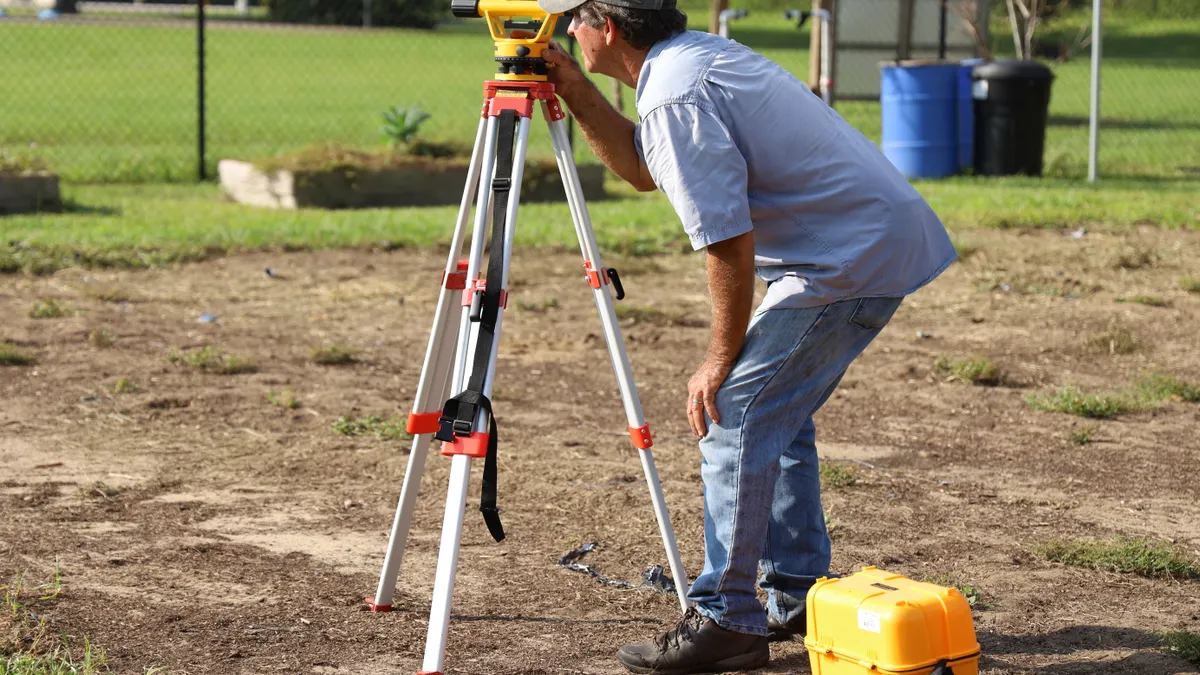
A laser level changes the same process, not the logic. Set the tool on a tripod or stable surface, project the beam across the yard, then measure from the beam down to the ground at each spot. The reading with the shortest drop is still the high point, and the reading with the longest drop is still the low point. The advantage is speed, especially if the yard has several corners or you need to check a 20-foot run in more than one direction.
The biggest mistake here is mixing up “relative to the string” with “absolute height.” For this task, absolute height does not matter. Only the differences do.
How to read spot levels without fooling yourself
Spot levels are only useful if you compare them in a consistent pattern. If you check one edge, then a middle patch, then another edge, you can miss the shape between them. In a small yard, a grid with points 3 to 6 feet apart is usually enough to show where the ground rises and falls.
Work in rows. Measure across the first row, then shift the string or laser to the next row and repeat. If the yard is narrow, check both lengthwise and crosswise. That matters because a yard can slope one way near the house and a different way near a fence. A single line of readings can hide a ridge or saddle shape.
Keep the measurements in the same unit. Inches are easiest for small elevation change. If one point measures 7 1/2 inches below the string and another measures 8 1/4 inches below, the second point is lower by 3/4 inch. That kind of difference can matter when you are trying to identify the true low point rather than a nearby spot that only looks low.
If the ground has grass, press the tape down to the soil surface, not the top of the blades. Tall turf can skew the result enough to blur a shallow dip. On bare soil, use the same pressure every time so you do not compress one spot more than another. The goal is not perfection; it is repeatable readings.
A quick check after the first pass is to stand back and look at your notes. If the numbers rise steadily from one end to the other, the yard has a clear slope. If the numbers jump around, recheck the spots with the largest changes. That pattern often reveals the real high point you missed on the first round.
Common mistakes that hide the true high and low points
The most common mistake is using visual judgment alone. A yard can look level on grass and still hide a 2-inch drop over 10 feet. That kind of error costs time later because you may plan around the wrong area.
Another mistake is setting the string too loose. A sagging string creates a false low point in the middle span, which makes the ground look higher than it is. Pull the string snug enough that it stays straight between stakes. If the span is longer than about 12 feet, recheck the line level before trusting the reading.
People also forget that stakes can move. If a stake leans after you press it into the soil, every number tied to that setup becomes less reliable. Push stakes in firmly and check them again after a few measurements.
Skipping a sketch is another easy way to lose the pattern. A yard can have six readings that make sense in isolation and still hide the highest point. A rough map turns scattered numbers into a usable yard profile. Even a handwritten note on graph paper is better than memory.
Finally, do not assume the lowest measured spot is the only place that matters. A low area near a fence can be the deepest point, but a broad shallow dip may affect drainage more. This page is about finding elevation extremes first, not deciding what fix comes next. For that next step, the yard drainage problems and diagnosis hub is the better starting point.
What to do when the yard has more than one high or low area
You handle more than one rise or dip by treating the yard as several small zones instead of one flat picture, and if the pattern is unclear, consult a professional. In a small yard, it is common to find a high point near a patio and another near a tree root, with a low point somewhere between them. That does not mean the method failed; it means the ground has more shape than a single line can show. The University of Minnesota Extension recommends assessing the slope and drainage pattern before deciding on a fix.
When readings differ by only a small amount across several points, flag all of them, and if needed consult a professional for a drainage opinion. A local high spot may sit only 1/2 inch above nearby ground, but that can still control where water spreads. The same is true of a shallow low pocket. Marking those spots gives you a cleaner map than picking one winner too early. The USDA NRCS notes that even small changes in slope can affect runoff patterns.
If the pattern changes direction halfway across the yard, switch the string or laser and measure from a new angle. For example, a yard may slope toward the back corner from the house, but also tilt from left to right along a fence line. Two passes at right angles usually reveal that shape better than one long pass.
Do not try to “average out” the yard at this stage. Average numbers can hide a ridge or dip that matters. The job here is identification, not redesign. Once the high and low points are clear, you can decide whether the problem is a shallow pitch, a localized hump, or a basin-like depression.
A simple way to record the yard profile for later use
You record the yard profile by drawing the yard, plotting each measurement, and labeling the highest and lowest points plainly. That gives you a map you can use later without remeasuring everything.
Start with a rectangle or rough outline of the yard on paper. Mark fixed features such as the house wall, fence, patio, gate, or walkway. Then place each reading at the approximate spot where you took it. Write the measurement right next to the point. If you used a laser level, note the beam height as the reference. If you used a string and line level, note the string height and the drop to the ground.
Use simple labels:
- H for the highest point
- L for the lowest point
- M for middle readings
- Arrows showing the general fall of the land
If you plan to keep the map, add the date and the tool used. A note such as “string line, 3 stakes, 9 readings” is enough. That matters because a second map made 6 months later can be compared to the first one if you know how it was measured.
This record is especially useful if the yard sits next to a structure or if you are comparing multiple problem areas. It gives you the elevation change in a form you can hand to someone else without explaining the whole setup again.
When a string line is enough, and when a laser level is better
A string line is enough for a small, simple yard with a few obvious changes in elevation. If the area is compact and you only need to identify the top and bottom points, the string method is quick, cheap, and easy to understand. It also works well when you want to keep the setup low-tech and visible.
A laser level is better when the yard has several corners, a wider footprint, or repeating measurements across multiple rows. It saves time because you do not have to re-tighten a string for every segment. It also reduces the chance of sag between stakes, which can matter when the differences are subtle.
The trade-off is setup complexity. A laser level needs a stable base and a clear line of sight. Bright sunlight can make the beam harder to see, so the tool may be less convenient outdoors at certain times of day. A string line does not have that problem, but it takes more repositioning.
For a reader who only needs the highest and lowest points in a small yard, the string method is usually enough. For a yard with a more complicated shape, a laser level can make the profile easier to trust. Either way, the rule stays the same: use one reference point, measure every spot against it, and keep the readings consistent.
How do you find the low point in a yard?
The low point is the spot with the greatest drop from your level reference, and it usually shows up as the largest measurement on your notes. To confirm it, check the surrounding points within 2 to 3 feet so you do not mistake a nearby slope for the true bottom. If several spots are close, mark them all and treat the shallow basin as one low area.
Can you map yard elevations yourself?
Yes, you can map yard elevations yourself with a line level, string, wood stakes, and a tape measure. The method is practical for a small yard because it relies on relative readings, not survey equipment. A laser level makes the job faster, but it is not required. Keep the grid tight, usually 3 to 6 feet between readings, so the profile shows real highs and lows.
What tools do you need to spot high and low points?
You need a way to create a level reference and a way to measure down from it.
Drafted with AI; not yet reviewed by a person.