Last updated: October 21, 2026
Key Takeaways
- A steel hand tamper works for small patches; a reversible plate compactor is quicker for larger areas.
- Build in 4 to 6 inch lifts, dampen lightly, compact each one, and repeat until the grade is right.
- Dirt should clump in a squeezed handful without looking wet, shiny, or leaving water in your palm.
- Thin, moist lifts compacted before the next one help reduce later settling.
Fill dirt compaction in How to Compact Fill Dirt in Layers for Yard Grading works when you place the soil in thin lifts, add the right moisture, and pack each layer before adding the next. If you are grading a yard, that is what helps the new slope avoid sinking later.
What you need before you start compacting fill dirt in layers
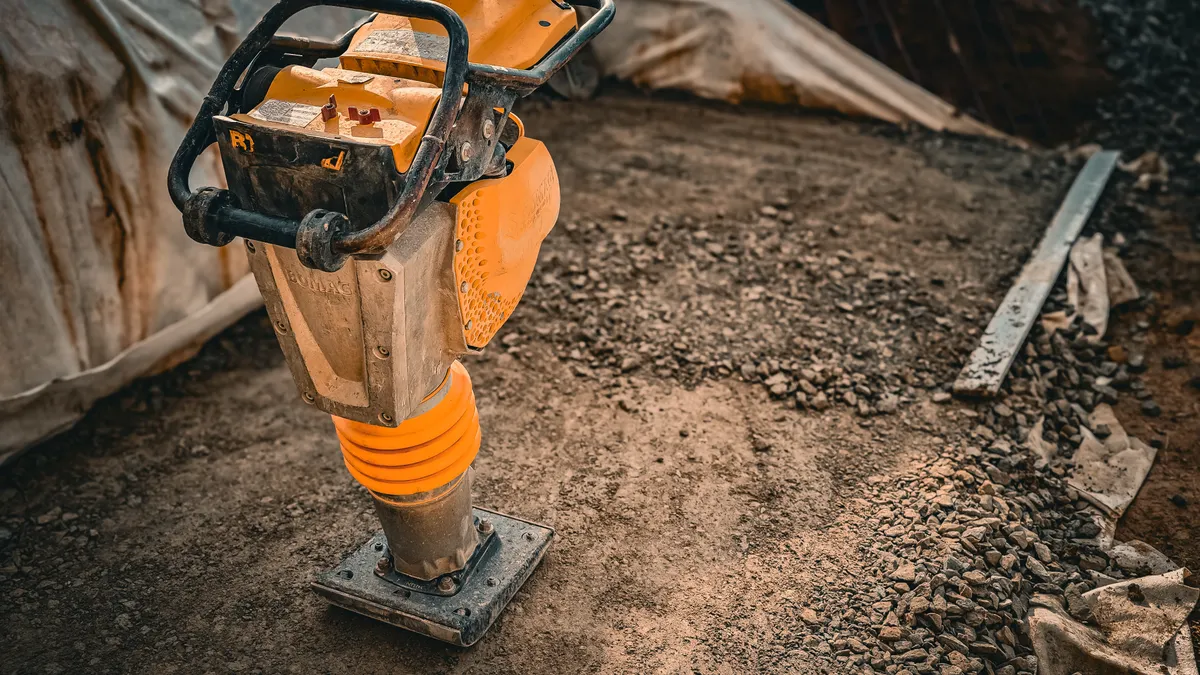
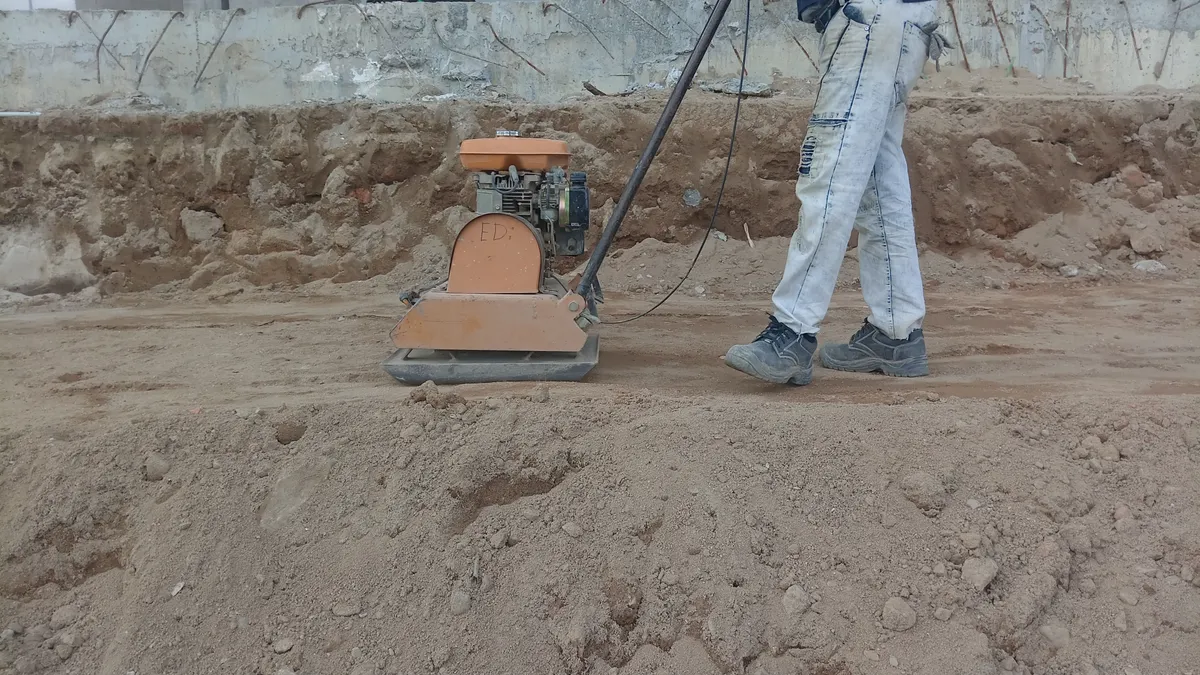
You need fill dirt, a hand tamper or plate compactor, a hose with a spray nozzle, and a way to check grade, such as a string line, level, or straight board. A steel hand tamper is enough for small patches; a reversible plate compactor is the faster choice for larger areas. If the yard is soft or broad enough that a person will be working for more than a few minutes, the plate compactor is usually the right tool.
Start with a clear area and a finished grading plan, even if it is only a rough one. The compaction method is about building stable graded layers, not deciding what material to use or how water should run off. If you need that bigger picture, the hub on grading solutions and yard shaping belongs nearby.
A few things make the job go badly fast. Dry dirt will not knit together well. Wet, muddy dirt can pump and shift under the tool. Thick lifts, meaning layers deeper than about 4 to 6 inches before compaction, are the main reason fill settles later. That settling is what leaves dips in a lawn, cracks in edging, and soft spots under topsoil.
Keep the pile of fill dirt workable. Break up clods larger than a fist before you spread them. Remove rocks, roots, and debris that can create voids. If the grade has to match a doorway, patio edge, or retaining wall, protect those edges before compaction begins so the tool does not hammer them.
How to compact fill dirt in layers, step by step
Begin with a lift no deeper than 4 to 6 inches, moisten it lightly, compact it, and repeat until the grade is built up. That is the whole method, and each layer has to be dense before the next one goes on.
- Spread the first lift in an even layer. Place fill dirt across the area at roughly 4 inches thick if you are using a hand tamper, or up to about 6 inches if you are using a plate compactor. The surface should look loose and level, not piled in ridges. When this step is right, a straight board dragged across the area leaves only shallow marks.
- Check the moisture before compacting. Spray the layer with a hose until the dirt feels damp throughout but does not shine or ooze water. A quick test is to squeeze a handful: it should hold together briefly and then crumble with a poke. That texture means the soil can bind without turning soupy.
- Compact the layer from one side to the other. Work the hand tamper or plate compactor in overlapping passes. With a plate compactor, move slowly enough that the machine vibrates the surface rather than skimming over it. When the layer is working, footprints become shallow and the surface firms up instead of sinking under each pass.
- Recheck the grade and fill low spots immediately. Use a level, string line, or straight board to find hollows. Add a small amount of dirt to those spots and compact again. The goal is a uniform lift, not a patchwork of soft and hard areas.
- Build the next lift only after the one below feels firm. Add another 4 to 6 inches, moisten, and compact again. If you are compacting for lawn grading, this repeated layering is what a professional would use to help prevent the buried soil from settling later under lawn traffic, rain, and freeze-thaw movement; check local specifications or consult a site prep pro if the area is critical. You should see fewer heel marks and a cleaner edge as the grade rises.
- Finish with the final shaping pass. Stop at the height you need, then make one last light compaction pass after the surface is shaped. Leave the grade a little proud only if you know it will receive a thin topping layer later. If the final layer is too loose, it will settle unevenly during the first few wet weeks.
A common mistake is trying to compact after the full depth is dumped at once. That leaves a firm crust over loose soil underneath. It may look finished for a day, then sink in bands. Another mistake is overwatering. Water should help the particles slide and lock, not turn the lift into mud.
How wet should dirt be before compaction?
Dirt should be damp enough to hold together in a squeezed handful, but not so wet that it glistens, smears, or leaves water in your palm. That moisture range is what gives fill dirt compaction its grip.
The easiest way to judge moisture is by feel, not by guessing from the weather. Dry fill dusts apart and resists consolidation. Overly wet fill gets slick and will pump under a plate compactor, especially in clay-heavy soil. If you step on it and it squishes or sinks in a shiny patch, stop and let it dry before compacting further.
A hose is enough for small areas. Use a fine spray, not a hard jet, so you do not carve channels into the lift. Mist the surface, let the water soak in for a few minutes, then test again. On a warm, breezy day, a layer may dry faster than expected, so compact in smaller sections instead of wetting the whole yard at once.
Moisture matters most in the top few inches of each lift. If the surface is damp but the soil below is powdery, the compactor may seal the top without improving the lower part. That is why it helps to spread the lift thinly and turn over clods as you go. For large areas, two light watering passes are usually safer than one heavy soak.
A practical limit: if the dirt clumps into sticky ribbons or leaves a slick smear on a boot, it is too wet for reliable compaction. Wait. The extra hour you lose there is cheaper than fixing a sagging grade later.
Hand tamper or plate compactor: which one should you use?
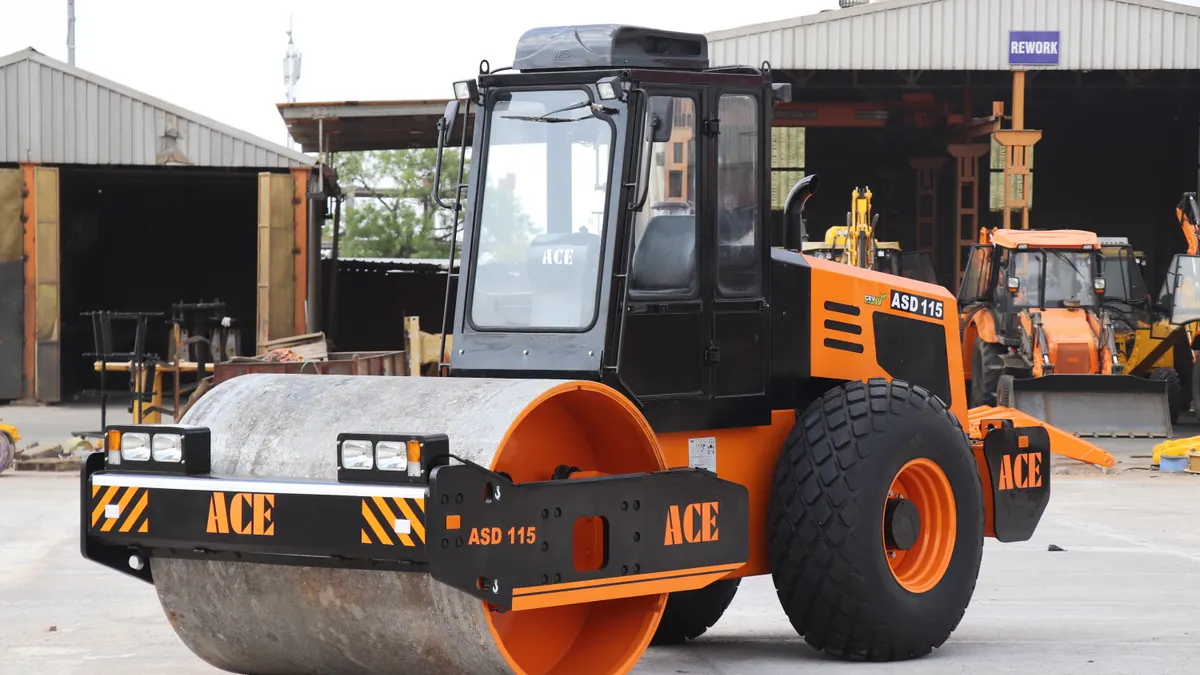
A hand tamper is fine for small patches, tight corners, and finish work; a plate compactor is better for most yard grading because it packs more evenly and covers more ground. That choice matters more than brand name or horsepower.
Use a hand tamper when the area is small, such as a trench backfill, a narrow strip beside a foundation, or a spot where a machine cannot reach. The tool is simple: a heavy flat base on a handle. It works best on lifts near 2 to 4 inches and is slow but controlled. The drawback is obvious. It takes effort, and it is easy to leave soft pockets if you rush.
Use a plate compactor when the graded area is broad, such as a side yard, a swale, or a lawn expansion. The vibrating plate gives more uniform compaction across each pass. For yard grading, that usually means better settling prevention with less guesswork. It is also the better choice if the fill dirt includes a mix of fines and small aggregate, because the vibration helps the particles seat together.
There is a trade-off. A plate compactor can be too aggressive near fragile edges, buried utilities, or freshly placed pavers. It also cannot fix a lift that is too thick. If the layer is 8 inches deep, the machine may firm the top while leaving the bottom loose. That is not compaction; that is a shell.
A good rule is simple: if the area is smaller than a patio corner and you only need to touch up a few cubic feet, use the tamper. If you are building a grade across a yard or rebuilding after drainage work, use the plate compactor and keep the lifts thin.
How to prevent settling after the yard is graded
Settling stays down when each lift is thin, evenly moist, and compacted before the next one goes on. That is the main defense against future dips.
The first mistake to avoid is overbuilding the grade in one day without intermediate checks. Fill dirt usually looks solid when it is freshly spread, but hidden voids collapse as water moves through the layer. Rechecking after each lift catches those weak spots while they are still easy to correct. If you need to save time, do not save it by skipping compaction; save it by working in sections of the yard.
The second mistake is mixing the final grading layer with loose debris. Sticks, roots, chunks of sod, and construction scraps create pockets that rot, shift, or decompose. Those voids show up months later as low spots. Clean fill is more predictable. If you encounter large clods, break them down before compacting instead of burying them.
The third mistake is leaving the yard exposed to heavy rain before the surface is firm. Even a well-graded area can shift if runoff cuts channels through loose fill. If weather is coming, stop with a firm, slightly crowned temporary surface rather than a loose flat one. That helps water shed instead of soaking straight down.
One more detail matters: compact more carefully near transitions. Edges where fill meets existing lawn, concrete, or a driveway often settle first because the change in support is abrupt. Make extra overlapping passes there with the tamper or plate compactor, and feather the soil rather than ending in a hard seam. That is where a lot of yard dips begin.
Common mistakes that leave a graded yard soft
Compacting too much dirt at once is the biggest mistake, and it usually leaves a surface that looks done but fails under load. Thick fills settle later because the lower soil never gets enough force. Stay in the 4 to 6 inch range per lift.
Skipping moisture checks is the next problem. Dry fill stays loose; soaked fill turns unstable. The fix is not complicated: mist the layer, wait a few minutes, and test it by hand before compacting.
Using the wrong tool for the area also costs time and quality. A hand tamper on a wide grade can leave inconsistent density. A plate compactor in a tight corner can overwork the edge and miss the nook. Match the tool to the space, even if it means switching tools during the job.
Another error is chasing perfection in one pass. A better method is to compact, check, add a small amount of fill where needed, and compact again. That second pass is where the surface becomes level enough for the next lift. A grade that looks right from one angle may still have a shallow basin that will collect water later.
Finally, do not treat compaction as separate from shaping. The surface should already be close to the final slope before the last pass. If the soil has to be dragged around after it is packed hard, the grade usually ends up lumpy. When in doubt on a larger yard, consult a grading professional before the final shaping pass and follow local grading guidance.
When to stop compacting and move on to the next layer
Stop compacting when the layer no longer gives much underfoot and the surface stays uniform under overlapping passes. That is the point where the layer is ready for the next lift or the final finish.
You do not need a laboratory result to know a lift is ready for more soil in a typical yard project. The practical signs are enough: shallow footprints, fewer loose grains, and no visible pumping of water or mud. If the plate compactor starts to bounce or ride too high, the layer may already be firm enough for the next step. If it sinks, churns, or leaves a soft track, keep working that lift.
Do not keep pounding just because the soil still looks a little rough. Overworking can smear the surface, especially in finer soils, and that skin can trap a softer layer beneath it. A compacted layer should be dense, not polished.
For the last lift, stop a little short of your final planned finish if you know you will add topsoil later for lawn planting. This page is about fill dirt compaction, not the topsoil finish, but the handoff matters. A stable base beneath the finish material is what keeps the yard from settling in patches after rain and mowing.
The right stopping point is practical, not perfect. If the grade is even, firm, and built in thin lifts, move on. If not, do one more pass now instead of trying to rescue it after the lawn goes in.
Should fill dirt be compacted in layers?
Yes. Fill dirt should be compacted in layers so each lift can be densified before the next one is added. Thin lifts, usually around 4 to 6 inches, reduce the chance of hidden soft spots and later settling. A single deep dump often looks solid on top while staying loose underneath.
How wet should dirt be before compaction?
Dirt should be damp, not muddy. It should hold together briefly when squeezed in your hand and then crumble when poked. If water shines on the surface, the soil is too wet. If it falls apart like dust, it is too dry and will not compact well.
Can you compact yard fill by hand?
Yes, but only for small areas or tight spots. A hand tamper can compact narrow strips, edges, and minor patches, but it is slow and can leave uneven density across a large yard. For broad grading work, a plate compactor usually gives better results with less labor and fewer soft spots.
Drafted with AI; not yet reviewed by a person.