Last updated: October 21, 2026
Key Takeaways
- Match the seed to your lawn type; fill dirt alone is often too coarse and low in organic matter for recovery.
- Thin lifts blend better than one deep dump; a 1-inch layer is easier to hide.
- Feathering keeps the transition from looking like a patch.
- A sod edge needs a gentle slope, not a vertical wall of soil.
Quick Answer
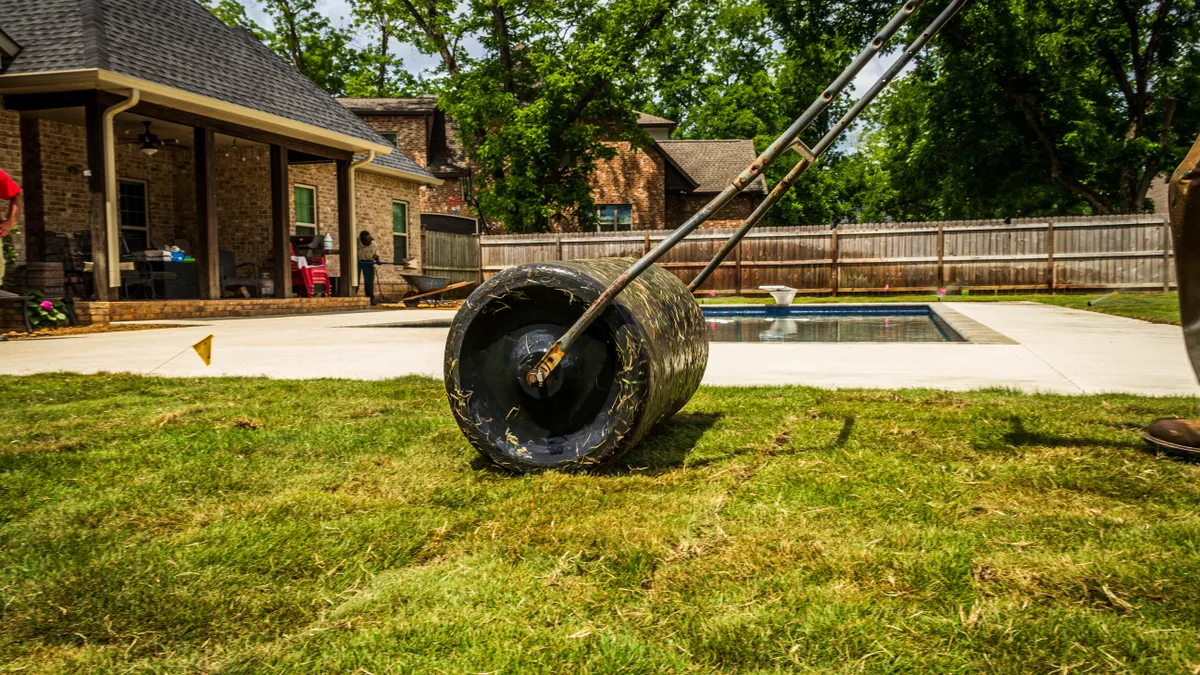
To blend fill dirt into existing lawn without a ridge, use thin 1-inch lifts, feather the edge over 12 to 24 inches, and finish with a 1/4- to 1/2-inch topdress. This keeps the repair close to flush with the turf and easier to mow across.
A clean fill dirt transition is made by feathering the edge, adding soil in thin layers, and finishing with a light topdress so the lawn and the new grade meet at the same height. For How to Blend New Fill Dirt into Existing Lawn Without a Noticeable Ridge, the ridge shows up when soil is dumped in one flat band and left with a sharp edge.
What you need before you start
You need fill dirt, a wheelbarrow, a flat shovel, a lawn rake, a hand rake, a straight board or screed, a tape measure, and enough topsoil to finish the surface where grass will grow. A seed mix matched to your lawn type matters too, because fill dirt alone is usually too coarse and low in organic matter for good turf recovery.
Plan for a dry day, and avoid heavy rain for at least 24 hours after the work is done. Wet soil smears, sticks to the rake, and compacts faster. If the area already has grass, keep a mower handy for a low cut before you begin. Short grass makes the edge easier to see and keeps the transition cleaner.
If the project is part of a larger yard-shaping plan, this is the finish work that follows the rough shaping. The hub on grading solutions and yard shaping covers the broader layout; this page stays focused on making the new soil disappear into the old turf.
How to blend fill dirt into existing lawn step by step
Use thin lifts, not one deep dump, because a 1-inch layer blends far more easily than a sudden mound. The goal is to make the new soil read as a gentle slope, not a shelf.
- Cut the grass low and expose the edge. Mow the lawn to about 2 to 3 inches, then remove clippings. You should be able to see exactly where the existing grade ends and where the fill dirt will begin.
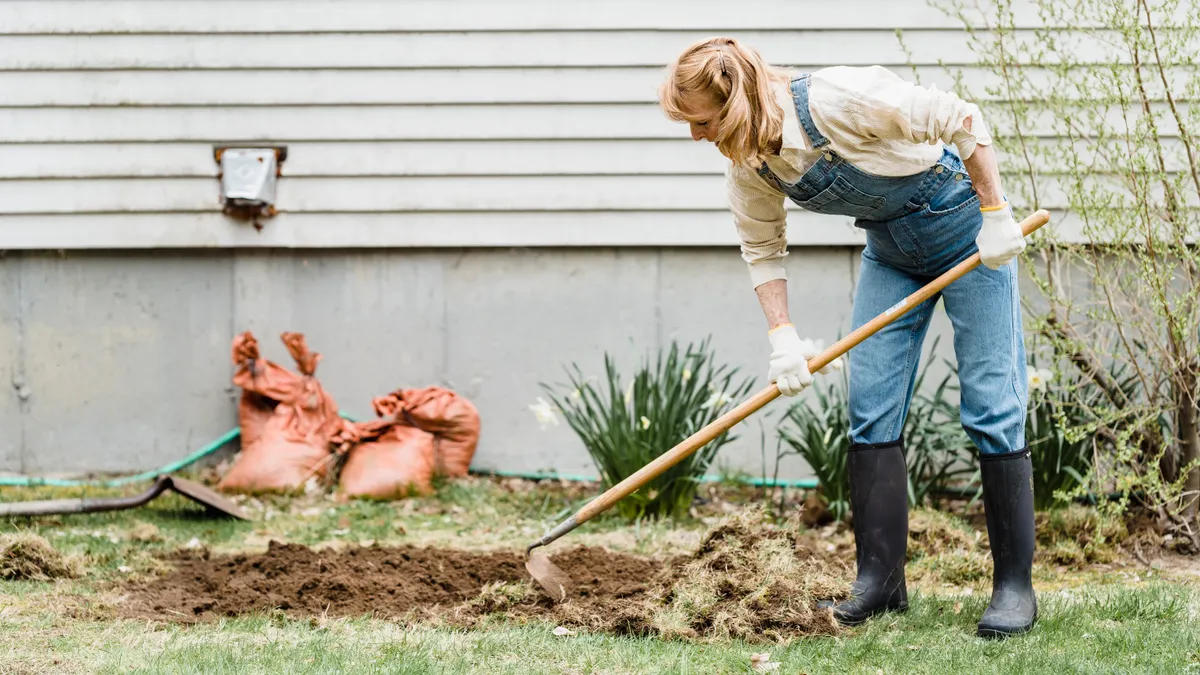
- Loosen the transition line. With a flat shovel or spade, slice the edge of the lawn back 6 to 12 inches and gently lift the turf edge where needed. This softens the interface so the new soil can taper under the sod instead of piling against it.
- Place fill dirt in a shallow wedge. Spread the fill dirt in a band that starts at full depth at the low spot and feathers to almost nothing at the lawn edge. Keep the top edge no more than about 1/2 inch above the surrounding turf at first; the next steps will hide even that.
- Rake the dirt back toward the lawn in thin passes. Use a lawn rake to pull soil outward in 2- to 3-foot strokes. The surface should look like a gradual ramp, not a flat berm. If you can see a line from standing height, keep feathering.
- Level the last 1/2 inch with a screed or board. Drag a straight board lightly over the new soil to knock off humps and fill small dips. The finish should sit nearly flush with the lawn, with no hard lip where the mower would catch.
- Topdress the seam with a soil blend. Add a thin layer of topsoil, usually about 1/4 to 1/2 inch, over the filled edge and the adjacent grass. This helps the transition vanish and gives seed a better start than fill dirt alone.
- Seed the disturbed strip and water lightly. Spread seed over the topdressed area, then water just enough to dampen the surface. A good result is darkened soil with no puddling or runoff downhill.
If the ridge is still visible after the first pass, do not add more material in one shot. Pull soil back, feather again, and let the finish come from slope, not volume. A noticeable ridge usually means the edge is too abrupt, not that the yard needs more dirt.
How to feather the edge so the fill dirt disappears
Feathering is what keeps the fill dirt transition from looking like a patch. The trick is to make the soil thickness taper over 12 to 24 inches, not stop at a single line.
Start by imagining three zones: the low spot, the ramp, and the lawn edge. The low spot gets the most fill, the ramp gets less, and the lawn edge gets only a dusting. That is the difference between a repaired grade and a hump you can feel underfoot. If the repaired area is larger than a few square feet, work in overlapping bands rather than one broad spread. Each band should be slightly thinner than the last.
A lawn rake works better than a landscape rake for this finishing job because its tines pull material without gouging the turf. Hold the rake at a shallow angle and drag soil off the high side toward the low side. When the transition is right, you should not see a straight soil line from standing height, and the mower should roll across without bouncing.
One common mistake is burying the existing grass crown. Even 1 inch of soil over established turf can slow recovery badly or kill small patches outright if the grass cannot push through. Keep the actual grass blades visible at the very edge until the last topdress pass. Another mistake is leaving the edge sharp so water runs along it and exposes the seam again after the first storm.
For larger transitions, use a straight board as a guide and check the slope by eye every few feet. The board should touch the high and low points without rocking. If it rocks, there is a hump. If it bridges a gap, there is a dip. Fix those before you seed.
What to do at the sod interface
A sod interface needs a soft landing, not a vertical wall of soil against the turf. When new fill meets sod, the seam fails when the edge dries out, cakes, or gets mowed too soon.
If the lawn is already established, slice back the sod edge only as much as needed to allow a taper. Think in inches, not feet: 6 to 12 inches of blended transition is usually easier to disguise than a hard line that ends at the first blade of grass. Where the sod is thin, do not bury it. Tuck the fill underneath only enough to support the slope, then stop.
If you are tying fill dirt into a newly laid sod strip, leave the sod surface slightly proud of the soil at first, then topdress lightly after rooting starts. Newly laid sod needs contact with moist soil beneath it, but the seam should not be smothered by fill from the side. A light sprinkling of topsoil across the edge can help lock the transition without creating a shelf.
The mower edge tells you whether this part worked. A good interface lets the mower wheel pass over without scraping and lets the blade cut the grass at the same level across the old and new areas. If the mower dips or lifts at the seam, the transition is still too abrupt.
Do not try to hide a bad sod interface with more seed alone. Seed helps fill small gaps, but it will not erase a ridge. The shape must be right first, then the grass can recover.
Should you topdress after adding fill?
Yes, a thin topdress after adding fill usually improves the finish and makes grass recovery easier. A 1/4- to 1/2-inch layer of screened topsoil or compost-rich topsoil gives the new surface a finer texture than fill dirt and helps seed settle evenly.
Topdressing is the last visual correction, not a second grading pass. Spread it only where the seam needs help, then rake it so the particles settle into the grass canopy and the fill edge. If you cover the lawn so deeply that the grass disappears, the topdress has gone too far. The turf should still show through.
This step matters most when the fill dirt is coarse, rocky, or cloddy. Fill dirt is useful for bulk, but it is usually not the best final surface for seedbed contact. The finer topsoil layer bridges the gap between the old lawn and the new soil and reduces the chance of a crust forming after watering.
Topdressing also gives you a cleaner way to correct tiny low spots after the first pass. If a shallow hollow appears after watering or settling, add a little screened topsoil rather than another full layer of fill dirt. That keeps the finish from getting heavier and more obvious.
Skip topdressing only if the fill already sits perfectly flush and you are not seeding the area. Even then, a very light finishing layer often makes the repair disappear better than fill alone.
Grass recovery after the blend is in place
Grass recovery is usually better when the seam stays moist, the soil stays thin, and the turf is not buried. The first 2 to 3 weeks matter most if you seeded the area.
Water lightly enough to keep the top 1/2 inch of soil from drying out completely. A hard soak that runs down the slope can pull the finish apart, while a misty surface watering keeps seed and topdress in place. Once seedlings emerge, shift to deeper but less frequent watering so roots move downward instead of staying shallow.
Do not mow the new strip until the grass reaches normal cutting height for your lawn type. If you cut too early, the mower can snag loose soil at the seam and expose the ridge again. When you do mow, use a sharp blade and avoid tight turns on the repaired edge for the first few cuts.
If the old lawn is healthy, the blend should fade as the grass knits back across the transition. If the lawn was thin before the repair, expect the seam to stay visible longer. That is normal. The goal is not to fool the eye on day one; it is to make the grade settle into one surface over time.
This approach is wrong for a repair that needs major elevation change across a broad area. If the difference in height is large enough that a single fill-and-feather pass would leave the lawn awkward or hold water, the bigger grading work belongs in a separate project before any finish work starts.
Common mistakes that make a ridge obvious
The biggest mistake is dumping fill dirt in one strip and calling it level. That creates a shoulder that never blends, and the fix is to pull the material back out and rework the taper. A ridge like that can show even after grass grows over it.
Another mistake is using only fill dirt as the final surface. Fill dirt is fine for bulk, but its texture is usually too coarse for a clean lawn finish. Without a topsoil cap, the edge can dry hard and stay visibly different from the surrounding turf.
A third mistake is packing the seam too hard with a rake or foot pressure. Compaction lowers the area unevenly and leaves the transition looking sunken after the first watering. Light passes are better than force.
Skipping the lawn rake is also costly. A shovel can move soil, but it cannot feather a transition well. A rake lets the surface taper over 12 to 24 inches instead of ending at a blunt edge.
If the repaired strip needs to stay hidden from the first day, keep the color and texture close to the existing lawn by using a fine topsoil finish and seed matched to the grass already there. That is the simplest way to keep the new fill dirt transition from reading like a patch.
How do you hide fill dirt edges in a lawn?
You hide fill dirt edges in a lawn by tapering the soil over 12 to 24 inches, not by leaving a hard line. The edge should be feathered with a lawn rake, then finished with about 1/4 to 1/2 inch of topsoil so the transition matches the surrounding turf more closely. Hard edges are what the eye catches first.
Can grass grow through fill dirt?
Grass can grow through fill dirt if the layer is thin enough and the surface is finished with better seedbed material. Seedlings struggle when fill dirt is too deep, too compacted, or left as the top layer. A light topdress and steady moisture help far more than fill dirt alone.
Should you topdress after adding fill?
Yes, a thin topdress is usually the last step that makes the repair look natural. A 1/4- to 1/2-inch layer of topsoil helps hide the seam, improves seed contact, and smooths minor rake marks. Skip it only when the fill already matches the lawn height and texture very closely.
Drafted with AI; not yet reviewed by a person.