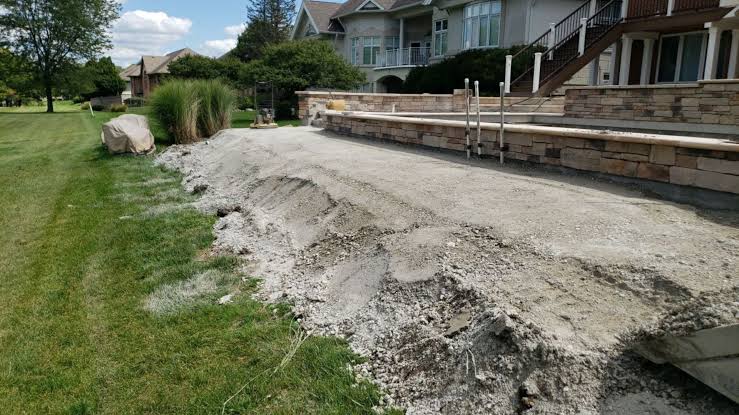
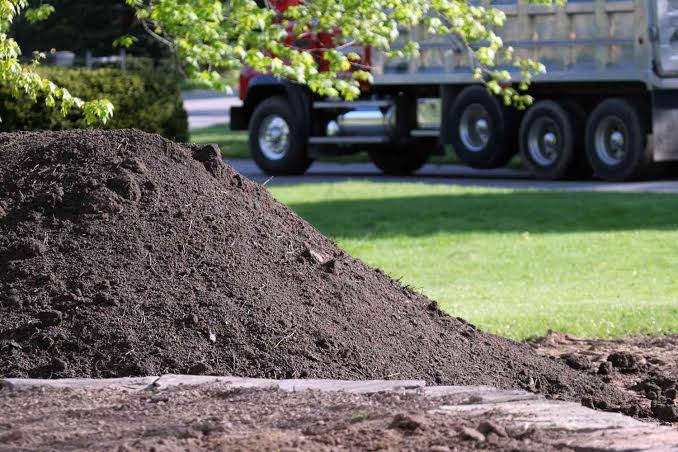
Last updated: September 10, 2026
Key Takeaways
- Check whether soil slopes away from the foundation for the first 6 to 10 feet.
- A 1% slope means about 1/8 inch per foot; a 2% slope is about 1/4 inch per foot.
- Stake the wet spots, the foundation line, and the downhill outlet with flags every 8 to 10 feet.
- Place fill in thin lifts no more than 2 to 4 inches deep.
Table of Contents
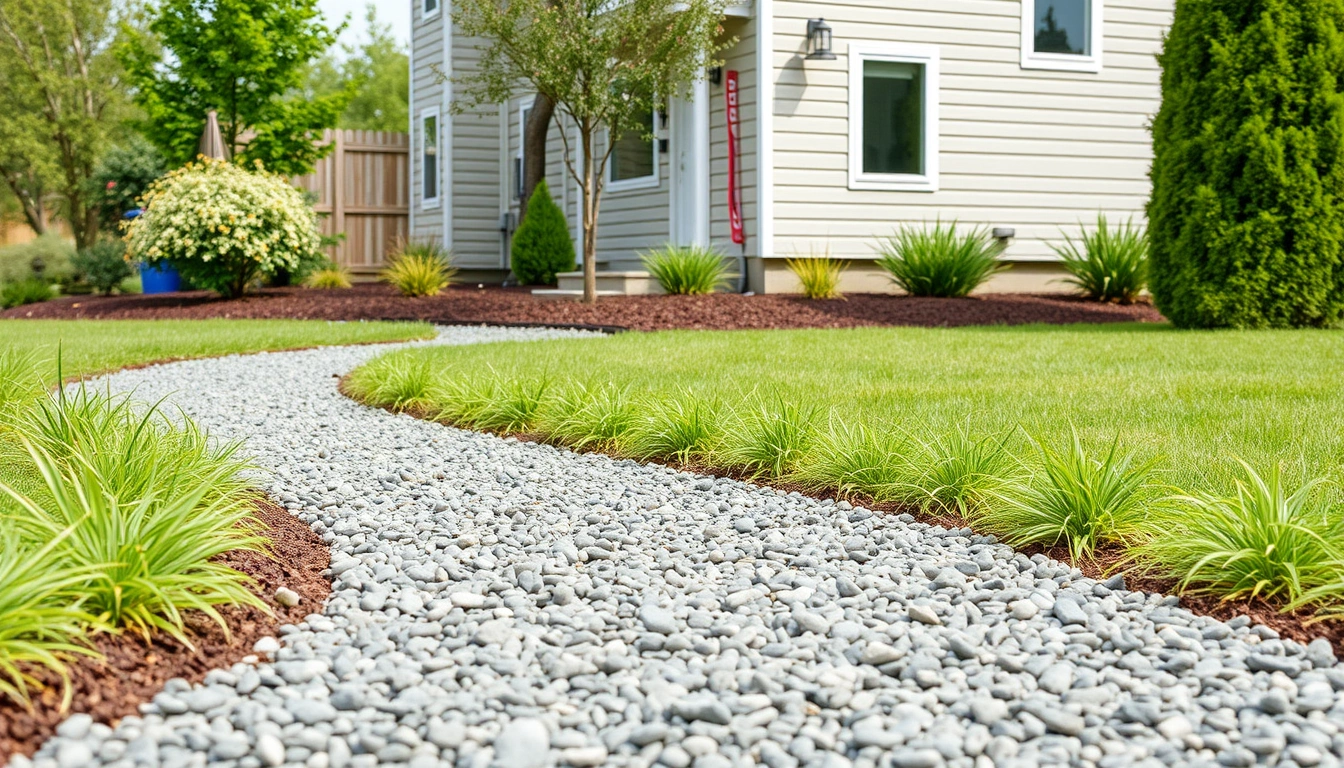
- Who this is for, and who should do something else
- How do you know if the yard needs regrading?
- How to grade a yard for proper water runoff
- What should you check before you move soil?
- What are the mistakes people actually make?
- When does grading stop being the right fix?
- What kind of result should you expect?
A yard that pools near the house is not “just a little wet.” It is a slope problem, plain and simple. Water that heads toward the foundation, or leaves ruts in the lawn, usually needs grading before anything else. This guide explains how to grade a yard for proper water runoff, how to check slope, set a target, and move soil without creating a new mess somewhere else.
Who this is for, and who should do something else
This is for a homeowner, landlord, or hands-on property manager dealing with shallow surface runoff on a typical yard of soil, turf, or light landscaping. It assumes you can use a 4-foot level, a shovel, a rake, a tape measure, and a string line, and that you know where the foundation, patio edges, and low spots are. It also assumes you are working with surface water, not a buried drainage system with collapsed pipe or a sewer backup. For a broader drainage overview, see our yard drainage guide.
Honestly, this method fits a modest reshaping job: one soggy patch after rain, a yard that leans back toward the house, or a swale that never got set right. I would not start here for a sump failure, a blocked catch basin, or water that comes up through a slab. Different animal.
A simple rule keeps this manageable: if you need to move more than a few inches of soil across a large area, or if the fix touches the foundation, retaining walls, septic components, or a shared property line, the job stops being “yard grading” and starts becoming site work. That does not mean impossible; it means the margin for error is smaller. A bad grade can send water to a neighbor, wash mulch onto a sidewalk, or create a low pocket that freezes at 32°F and turns into ice.
The standard target for many homes is a gentle fall away from the structure, often described as about 1 inch per foot for the first 6 to 10 feet, but local codes and site conditions can differ. I would treat that as a planning number, not a guarantee, and I would check the local code or ask a licensed contractor, landscape professional, or building department before changing grades near a foundation. If your yard already has buried utilities, a steep slope, clay soil, or a finished landscape bed, the correction may need to be smaller and broader. For anything that looks like a retaining issue, a driveway edge settlement, or chronic foundation wetting, this is the point where a qualified site contractor or drainage specialist is the right next move. For code context, see the International Residential Code.
How do you know if the yard needs regrading?
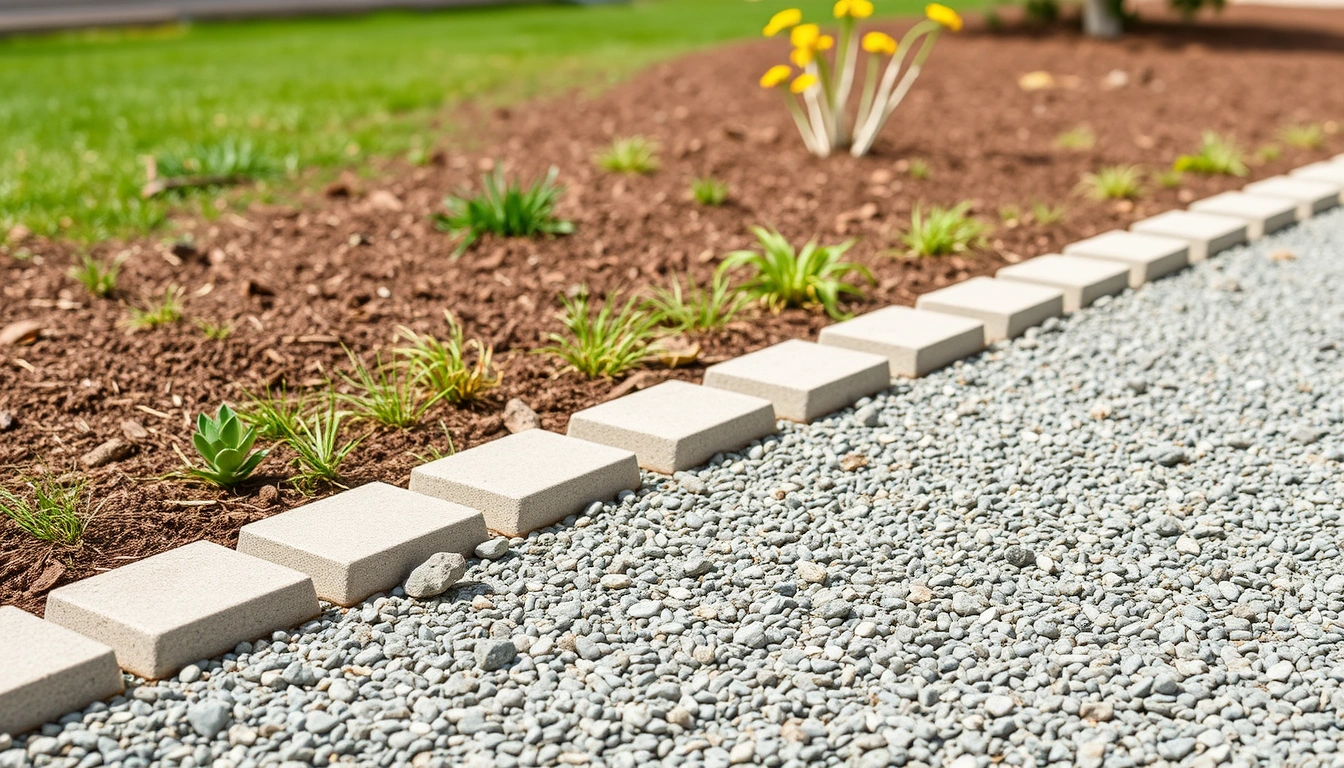
Water tells on a bad grade. It sits, slips toward a structure, or cuts little channels through the soil. The clue is not just “wet grass.” The clue is what happens after a normal rain of about 1/2 inch to 1 inch, not a storm that overwhelms everything. In other words, how to grade a yard for proper water runoff starts with watching what happens in an ordinary rain.
Start with the house. Check whether soil slopes away from the foundation for the first 6 to 10 feet. If the ground falls toward the wall, even slightly, water will tend to follow that route. Then look at hard edges: patios, walkways, downspout splash areas, air-conditioning pads, and driveway lips. Those are common points where water gets trapped or redirected.
A good grading problem has a visible pattern. You may see:
– puddles that linger longer than 24 hours after rain,
– mud stains or algae in one depression,
– erosion rills, which are small channels carved by runoff,
– mulch or topsoil washing away from one area,
– basement seepage that appears after rain rather than during plumbing use.
First, measure slope. It is the rise or fall over a distance, usually expressed as inches per foot. A 4-foot level, a straight board, or a string line lets you check whether the ground falls where it should. A 1% slope means about 1/8 inch per foot; a 2% slope is about 1/4 inch per foot. Around a house, the first several feet should generally be more aggressive than that so water does not hesitate near the wall.
I would also check soil type before I moved a single wheelbarrow of dirt. Clay drains slowly and can hold a grade change differently than sandy loam. If the yard is compacted, water may sheet off the surface but still sit in the top layer. That matters because a perfect visual slope can still fail if the soil is sealed like a lid. For more on surface runoff behavior, the EPA explains runoff basics in its stormwater education materials.
How to grade a yard for proper water runoff
You grade a yard for proper water runoff by mapping the current surface, setting a target slope, moving soil in thin lifts, and verifying the fall with a level before you seed or sod. The goal is controlled runoff, not a dramatic hill. If the surface looks obviously reshaped, it is often too much. Too neat? That is a warning sign.
- Mark the drainage problem and the finished target. Stake the wet spots, the foundation line, and the downhill outlet with flags every 8 to 10 feet. Use spray paint or marking flags to show where water stands after rain. Verify that you have identified the highest and lowest points; if not, you may build the yard toward the wrong direction.
- Measure the existing slope with a 4-foot level or string line. Set a straight board on the soil and measure the gap at the low end. For a house-adjacent area, I would look for about 1 inch of fall per foot for the first 6 to 10 feet. Verify the measurement in at least three places. If one end reads level or back-pitched toward the structure, that is a problem.
- Call out the area to be cut and the area to be filled. Use a hose or paint line to sketch the flow path, including a shallow swale if needed. A swale is a broad, shallow channel that carries runoff without looking like a ditch. Verify that the route sends water away from the foundation and toward a safe exit, not a neighboring lawn or walkway. If the line dead-ends, you are creating a pond.
- Remove turf and scrape high spots before adding soil. Strip sod in the area you will rebuild and shave off high mounds in 1-inch passes. Keep cuts shallow; aggressive excavation creates settlement later. Verify that you have not exposed roots larger than about 2 inches in diameter unless you are prepared to modify the plan. If roots, utilities, or edging block the shape, stop and redesign.
- Place fill in thin lifts no more than 2 to 4 inches deep. Spread clean topsoil or screened fill, then rake it to match the target grade. Do not dump 8 inches in one pass and hope it settles evenly. Verify each lift with the level and a straight board. If the soil pumps underfoot or compresses into a slick layer, it is too wet to grade well.
- Blend the new grade into the existing lawn over at least several feet. Feather the transition so the change is gradual instead of making a visible berm. In practice, I would taper the edges over 3 to 5 feet. Verify that mower traffic will pass without scalping. If the transition is abrupt, runoff may jump the intended path and the mower may catch the edge later.
- Compact lightly, then recheck the slope. Walk the area with a flat-soled shoe or use a hand tamper on small spots; do not overpack a lawn grade into concrete. Verify again with the 4-foot level after light compaction, because loose soil settles. If the slope disappears after tamping, you started too shallow or placed fill unevenly.
- Finish with topsoil, seed or sod, and a final water test. Add 1/2 inch to 1 inch of finish soil where needed, then seed or lay sod. After that, run a hose for 10 to 20 minutes and watch where the water travels. Verify that it flows away from structures and does not form a new basin at the toe of the slope. If you see ponding, mark it and rework that spot before the surface is established.
One practical note: I would rather see a broad, subtle correction than a steep one. A yard that looks “fixed” but sheds water too fast can cause erosion, bare spots, and mulch loss. If you need a dramatic grade change over more than 12 inches of height, the answer may be terracing, a retaining wall, or a drain, not just re-sloping soil. The USDA Natural Resources Conservation Service has practical guidance on soil movement and erosion control in its conservation resources.
What should you check before you move soil?
Check three things before you move dirt: where the water is supposed to go, what lies underground, and whether the low area is caused by settlement rather than bad slope. Those are not the same thing, and the fix changes by several inches.
Start with the outlet. Every grade change needs a safe discharge point: a lower lawn area, a curb cut where allowed, a rain garden, or a stormwater feature designed to receive runoff. If your plan says “away from the house” but does not say where next, it is incomplete. Water does not disappear; it moves to the next low point.
Next, look underground. Call local utility-marking services before digging any area where lines might be present. I would not scrape or trench blind near gas, electric, communications, or irrigation valves. A shallow regrade can still hit wire, pipe, or drain components if you are working within the first 12 inches of soil.
Then check the structure itself. If the problem started after a patio was poured, a trench was backfilled, or a new addition changed the roof footprint, the grade may have settled because the fill compacted unevenly. In that case, adding soil only to the low spot may not solve the root problem. You may need to rebuild the transition across a wider zone.
I also want the reader to think about roof runoff. Downspouts that dump water at the foundation can overwhelm good yard grading. A downspout extension of even 6 to 10 feet can matter more than an extra inch of soil in the bed. If the roof water is not controlled, the yard will keep losing the argument. See our downspout extension tips.
Finally, confirm the finish level against nearby hardscape. A walkway that sits 1/2 inch above grade is safer than one buried by soil, because buried edges trap water and rot adjacent material. But you should not bury siding, stucco weep paths, or brick veneer. That is a common mistake that creates moisture damage even when the lawn itself looks improved. For foundation drainage details, the FEMA foundation drainage guidance is a useful starting point.
What are the mistakes people actually make?
The biggest mistake is chasing the puddle instead of the slope. People fill the low spot, the water moves 6 feet away, and a new puddle forms. The consequence is recurring wet ground and a yard that gets patched in rings. The alternative is to trace the whole flow path and grade the route, not just the hole.
Another error is using too much fill at once. A thick fill layer, especially over compacted clay, settles unevenly and can sink by inches after the first few storms. The consequence is a lumpy lawn and a grade that reverses itself. I would place soil in 2- to 4-inch lifts and recheck after each pass.
A third mistake is creating a “moat” around the house by piling soil against the foundation. The consequence is trapped moisture near the wall, hidden termites or rot risk in wood framing, and water that has nowhere to go except along the foundation line. The alternative is to keep the finish grade sloping away and stop below siding, weep holes, and air vents.
A fourth mistake is overcompacting with equipment. A plate compactor can be useful in some site work, but on a lawn it can seal the surface and reduce infiltration. The consequence is runoff that races across the top instead of soaking in. For small yard corrections, light hand compaction and careful watering are usually enough.
A fifth mistake is ignoring roof and pavement runoff. A driveway edge or downspout can dump far more water than the soil can handle. The consequence is a grade that seems to fail for no obvious reason. The fix is to reroute the concentrated flow first, then shape the lawn.
When does grading stop being the right fix?
Grading stops being the right fix when the water problem is deeper than the surface, the slope change is too large, or the site constraints make a simple regrade risky. At that point, forcing the yard into shape usually creates a second problem.
Water reaches a basement wall or slab crack: The runoff issue is now tied to foundation drainage — a surface regrade alone may not stop it. Add exterior drainage or have the foundation system evaluated.
The low area is larger than you can correct with a few inches of soil: You are looking at a site-shape problem, not a lawn touch-up — consider swales, a drain, or a retaining solution.
The yard slope would send water onto a neighbor’s property: The consequence can be nuisance runoff or a boundary dispute — redesign the outlet so discharge stays on your side and follows local rules.
There is a buried drain, septic field, or utility corridor in the work zone: Digging can damage critical systems — keep soil changes shallow or avoid the area until the system is mapped.
The ground is built on fill that keeps settling: The surface will keep moving after you grade it — address compaction and settlement before you finish the yard.
Hardscape is heaving, cracked, or sloping toward the house: The structure of the patio, sidewalk, or driveway may be the real driver — repair that first or the runoff pattern will return.
If any of those are true, I would stop and redesign rather than make the same 2-inch correction three times. That is the wrong tool for the job.
What kind of result should you expect?
You should expect a yard that sheds water steadily, not visibly fast, and that does so without puddles lasting more than a day in normal weather. A good result is subtle: the ground looks natural, the mower travels smoothly, and water no longer sits against the structure.
I would judge the finish by three things. First, the slope should be consistent over the first 6 to 10 feet away from the house. Second, the surface should be smooth enough that water can move without finding a dip, but not so slick that runoff accelerates. Third, the transition into the rest of the lawn should not look like a patch job. A successful grading project often disappears visually, even though the runoff changes immediately.