Last updated: September 10, 2026
Key Takeaways
- Place fill dirt in lifts of 4 to 6 inches.
- Re-string the grade after every 6 to 8 inches of built height.
- Spread 4 to 6 inches over lawn areas, less if you are just smoothing an existing turf edge.
- Moisten the top layer, then inspect again after a rain or 24 to 72 hours of weather.
If you are grading a yard, here is the blunt answer: for yard grading, use fill dirt for most of the bulk, topsoil only as the finish layer where grass or plants will grow, and sand only for very specific drainage corrections or soil mixes. Pick the wrong material, and the result is usually settling, lousy drainage, or a lawn that looks level for a month and then sinks back down. Ugly.
Who this applies to, and what I am assuming you already know
This applies to a homeowner or property manager who needs to reshape a yard by raising low spots, smoothing slopes, or fixing water that sits against the house after rain. I am assuming you already know the difference between “level enough to mow” and a perfectly flat surface, and that you have basic tools such as a shovel, rake, wheelbarrow, stakes, string, and a long straight board or level. Also, I am assuming you are not trying to correct a structural foundation problem or solve a wet basement by piling dirt at the wall.
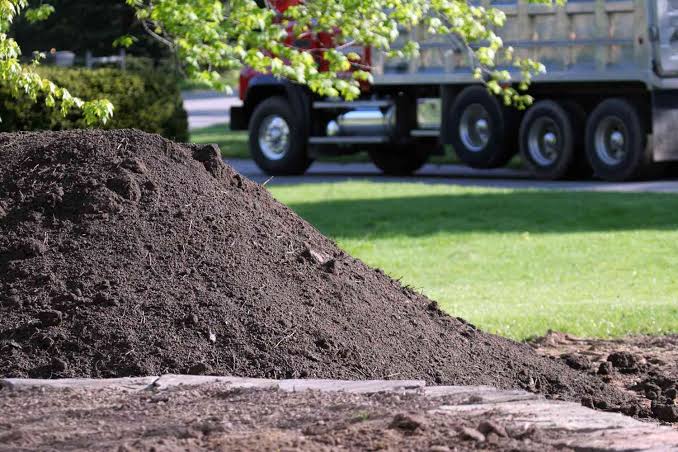
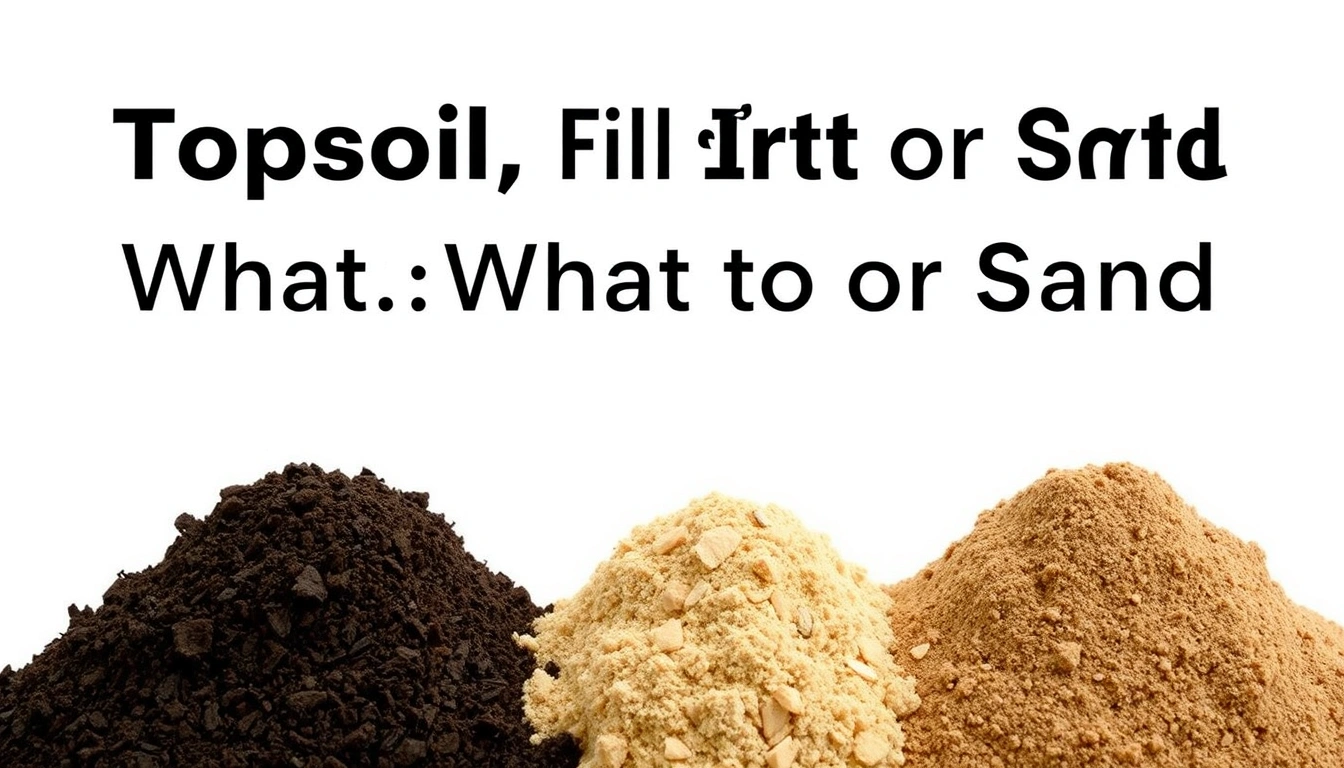
For grading, the material matters more than the brand on the truck ticket. “Topsoil” is the dark, organic upper layer of soil; it is good for plant growth, but it is poor as a structural fill because it holds water and shrinks as it settles. “Fill dirt” is subsoil or excavated soil with most organic matter removed; it compacts better and is the right choice when you need mass and stability. “Sand” is a mineral aggregate with large particles and fast drainage; it can help in narrow cases, but consult a soil professional or landscape contractor before using it, because it is not a cure-all and can make a soil profile worse if you dump it in the wrong place. See the USDA NRCS Soil Health guide and Cornell University’s soil texture guidance for how particle size affects water movement. USDA NRCS, Cornell Soil Health.
This is not the right DIY job if the ground is moving under a driveway slab, if water is already entering a foundation, or if you need more than about 12 inches of added height over a large area. Past that point, compaction, drainage, and slope design matter enough that a grading contractor or landscaper with equipment is usually the better move. Better call.
What should I use for yard grading?
For yard grading, use fill dirt to build height, then cap it with 4 to 6 inches of topsoil where you want turf or beds; use sand only when you are fixing a specific drainage or soil-structure problem. That is the rule I would start with because it matches how each material behaves after rain, compaction, and root growth.
Fill dirt is the workhorse for rough grading. It can be compacted in lifts, which means thin layers, usually 4 to 6 inches at a time, instead of one deep pile. That matters because loose fill settles unevenly. If you are raising a low lawn area by 8 inches, I would not use 8 inches of topsoil alone. It will likely sink, stay soft, and create a spongy lawn. I would build most of that height with fill dirt and reserve the top few inches for a planting layer. Near the house, I would check the slope after every lift so the grade still falls away from the foundation.
Topsoil belongs on top, not through the whole build. It has more organic matter and a finer texture, so grass seed and roots can establish. But if you use it as bulk fill, it compresses and decays differently than subsoil. That creates dips, especially where you water heavily. A good rule is to keep topsoil as the final 4 to 6 inches in areas planted with turf, and thinner if you are simply feathering into existing grade. For lawn grading, that top layer is the part that supports seed germination and root growth.
Sand is the trickiest option. Coarse sand can improve drainage in a very narrow, well-defined mix, but adding sand to clay in the wrong proportion often produces a dense, cement-like layer or creates a perched water table above the interface. So “just add sand” is usually lousy advice for a lawn over heavy soil. Sand is also a poor choice for building grade because it shifts easily and can wash out on slopes steeper than about 3:1.
How do I grade a yard step by step?
You grade a yard by setting a target slope, removing loose organic debris, placing fill in thin lifts, compacting each lift, and then finishing with topsoil where plants will grow. The process sounds simple because the logic is simple; the failure usually comes from skipping compaction or using the wrong material in the wrong layer.
- Mark the finished height and slope. Set stakes at the high and low points and run string lines. Aim for a slope of about 1/4 inch per foot away from the house for the first 6 to 10 feet. Check with a line level or laser level. If the string dips toward the house, you have created a drainage problem, not a fix.
- Strip away sod, roots, and debris from the build area. Remove turf and organic matter from any spot where you will add more than 2 to 3 inches of fill. Check that the surface is firm mineral soil, not a mat of roots. If the area feels springy or dark and spongy, you still have organic material that will decay and settle.
- Place fill dirt in lifts of 4 to 6 inches. Spread each lift evenly with a rake or skid steer bucket, not in a single mound. Check the spread is uniform before compacting. If you can see humps thicker than 6 inches, the layer will not compact evenly and will sink later.
- Compact each lift. Use a plate compactor on larger areas or a hand tamper on small patches. Make two to four passes in overlapping strips. Check the surface firms up underfoot and no longer leaves deep boot prints. If it still feels soft after compaction, the layer is too thick or too wet.
- Check the slope again before adding the next lift. Re-string the grade after every 6 to 8 inches of built height. Check water will move away from structures and not toward low spots you created elsewhere. If the grade lines have drifted, correct them now; small errors become expensive later.
- Add topsoil only where plants need it. Spread 4 to 6 inches over lawn areas, less if you are just smoothing an existing turf edge. Check the topsoil blends into surrounding grade without a sharp lip. If the topsoil is deeper than the root zone will support, it can stay soft and settle more than the fill below.
- Rake and shape the final surface. Feather edges, remove ridges, and leave a subtle crown where needed so water does not sit in the middle of the lawn. Check that a 6-foot straight board does not rock on obvious humps and that shallow depressions drain. If water would pond after a rain, keep shaping.
- Water lightly and recheck after settling. Moisten the top layer, then inspect again after a rain or 24 to 72 hours of weather. Check there is no new sinking at seams, trenches, or fill transitions. If there is, you need another thin lift, not a thicker cap of topsoil.
Why fill dirt is usually the right base for yard grading
Fill dirt is usually the right base for yard grading because it compacts, holds shape, and does not decompose the way organic soil does. That makes it the material I would choose for raising grade, filling behind landscape walls, smoothing old trenches, or building the base of a lawn that needs more than a cosmetic touch-up.
The key term here is compaction: the reduction of air space between particles so the material becomes denser and more stable. Good fill dirt can be compacted in layers; that is why road builders and site crews use it under pads, walks, and retaining features. If you need to raise a backyard 6 inches across a 20-by-20-foot section, fill dirt is the part that makes the new elevation stay put.
There are limits. Fill dirt is not meant to grow grass directly. It can be too low in nutrients and too coarse or mixed to support healthy turf by itself. It may also contain stones, clay clods, or variable texture depending on source. That is not a deal-breaker for grading, but it is a reason to finish with topsoil. If you are filling a very visible front yard where uniformity matters, ask for screened fill dirt or screened fill plus topsoil on top. Screening removes larger debris and makes raking easier, but it usually costs more than unscreened material. For a 10 cubic yard load, screened material often costs more than a basic unscreened fill load, so plan the budget before delivery.
I would not use fill dirt when the goal is only to top-dress a lawn hollow less than 1 inch deep. In that case, a thin blend of topsoil and sand, or even straight topsoil, is usually better because it integrates with the existing turf. Fill dirt is also the wrong call if you are working in a spot that must drain rapidly, such as a narrow swale or a rain garden basin. In those settings, you need the drainage design first, not just more mass.
When does sand make sense, and when does it make things worse?
Sand makes sense only when you need faster drainage, a more friable soil mix, or a very specific leveling blend in shallow applications. In most yard-grading jobs, plain sand is the wrong material, especially over clay or for building height.
A common mistake is thinking sand is “loose,” so it must be good for drainage anywhere. In reality, adding a lot of sand to clay can reduce pore continuity and create a dense transition layer. The result is a lawn that stays wet above the sand line and droughty below it. That is a bad trade if your goal is to move water out of the root zone. For lawn work, sand is more often used in very small amounts for topdressing athletic turf or in engineered soil mixes, not for bulk grading. The University of Minnesota Extension and NC State Extension both warn that sand-heavy mixes can backfire in clay soils. University of Minnesota Extension, NC State Extension.
Sand can help in a few edge cases. If you have a shallow low spot on an established lawn and you need a 1/2-inch to 1-inch topdress, a sand-heavy blend can help it settle into the turf canopy. If you are correcting a path or patio base, coarse bedding sand may be part of the assembly. And in some well-defined drainage corrections, sand is one component of a layered system that includes gravel and pipe. But that is not the same as using sand to rebuild a yard surface.
I would avoid sand if the area is on a slope that could wash material downhill, if the existing soil is already sandy, or if you are adding more than a very thin layer to improve surface smoothness. In those cases, you are usually better off with screened topsoil over stable fill dirt. Sand is also poor for feeding grass; it brings almost no organic matter or nutrients, so it needs to be paired with the right top layer.
What mistakes do people actually make?
The biggest mistakes are using the wrong material as bulk fill, skipping compaction, and burying existing turf too deeply. Each one has a clear cost, and each one is avoidable with slower, thinner work.
- Using topsoil for the whole build-up. The consequence is settling and a soft, uneven lawn after a few rains. The correct alternative is fill dirt for the structure and topsoil for the finish.
- Dumping sand into clay because drainage is bad. The consequence is often a worse texture transition and drainage that still does not improve. The better alternative is to fix slope, install drainage, or use a properly designed soil amendment strategy.
- Adding one deep layer instead of 4- to 6-inch lifts. The consequence is poor compaction and future sinkage. The correct alternative is thin layers with compaction after each pass.
- Burying existing sod under too much fill. The consequence is dead turf, odor from decaying organic matter, and an unstable base. The correct alternative is strip the sod first when you are adding more than a couple of inches.
- Ignoring the slope away from the house. The consequence is water pooling at the foundation or flowing into a side yard. The correct alternative is to confirm at least a slight fall away from structures before finishing.
- Using unknown cleanout or excavation material. The consequence is buried debris, construction waste, or highly variable soil that never compacts well. The correct alternative is to specify fill dirt or screened fill from a known source.
When should you stop and use a different approach?
You should stop this approach when the yard problem is really a drainage, foundation, or soil-structure problem in disguise. Here are the situations that change the answer:
Water stands against the foundation after rain: This means grading alone may not be enough — improve slope, but if water still collects, add drainage or call a foundation or drainage specialist.
You need to raise more than about 12 inches over a broad area: This is a major fill project — the risk of settling rises, so use staged fill, possible mechanical compaction, and maybe a contractor.
The soil is wet, greasy, or pumping underfoot: This means compaction will be poor and ruts will form — wait for drier conditions or change the drainage first.
You are working beside a retaining wall, driveway edge, or patio slab: These structures are sensitive to lateral pressure and settlement — do not just pile material against them; use proper backfill and compaction.
There is evidence of sinkholes, deep voids, or severe settlement: This is not normal grading — stop and get a qualified site assessment before adding material.
You need a finished surface for turf on a very sandy or very clay-heavy site: The standard fill-topsoil mix may need modification — consider a soil test and a custom blend rather than guessing.
How long does grading take, and what does a good result look like?
A small yard grading job can take a day or a weekend; the more important measure is not the clock but whether the surface stays where you put it after the first rain. A good result drains away from buildings, feels firm underfoot, and does not show fresh dips after settling.
For a simple low spot, I would expect the work to happen in stages: one round of stripping and rough shaping, one round of fill placement and compaction, then a finishing pass with topsoil and seed or sod.