Last updated: September 10, 2026
Key Takeaways
- Pipe diameter commonly starts at 3 or 4 inches for residential work, though the right size depends on expected flow and local practice.
- Cut and connect the pipe: Use the basin outlet size the manufacturer specifies, commonly 3, 4, or 6 inches.
- A catch basin is the right fix when the water has a collection point and a path out.
- A catch basin is the wrong tool when the problem is not point runoff.
Table of Contents
- When a Catch Basin Solves a Yard Drainage Problem
- Who this is for, and who should use something else
- How do I know a catch basin is the right fix?
- What does a catch basin actually do in a yard drainage system?
- How I would install one step by step
- When should I stop and choose another solution?
- The mistakes that make catch basins fail
- What if my yard has pavers, a driveway edge, or a slope?
- FAQ
At one low spot, a catch basin can make the whole mess manageable. Water gathers there, the grate grabs it, debris gets trapped below, and the flow moves into pipe before it spreads across the lawn, patio, or driveway. I’m talking about a surface inlet with a grate on top and a sump below it; good for concentrated runoff, not for every soggy yard. Simple. When catch basin solves yard drainage problem, the real test is whether the water has a clear entry point and a legal, practical way out.
Who this is for, and who should use something else
Use this if water keeps showing up in the same place after rain — maybe from a roof downspout, a driveway edge, a swale, or another hard surface that sheds quickly. Usually, the clues are easy to see: a puddle that lingers for hours, turf that stays muddy at one low point, or water that cuts across a walkway and leaves grit behind. But it is not a cure for a yard that is damp everywhere. Broad, persistent, or subsurface trouble calls for a drainage professional and a look at local stormwater guidance. The EPA notes that runoff management depends on site-specific conditions, not a one-size-fits-all fix.
The real question is whether you are collecting water at one point and sending it away. A catch basin does that well because the grate admits surface water and the sump catches leaves, gravel, and sand before they enter the pipe. Then the pipe carries water to daylight, a dry well, or another approved discharge point. If you need to drain an entire lawn with heavy clay soil, a basin by itself usually falls flat. If you have a high water table, a spring, or water that rises from below grade, it may only help for a while. For broader yard drainage problems, a site assessment is the safer next step.
I would pick this approach for a yard with one obvious inlet point, a pipe run with at least a modest slope, and a place to send the water 10 to 20 feet away or farther. I would not pick it for a yard that stays wet across the board after days of rain; in that case, surface regrading, a French drain, or both may be the real fix. And there’s the catch: a basin is also the wrong tool if the only outlet runs back toward the foundation or onto a neighbor’s lot, unless a qualified drainage professional designs a compliant alternative. In that kind of layout, the drainage plan matters more than the box in the ground.
How do I know a catch basin is the right fix?
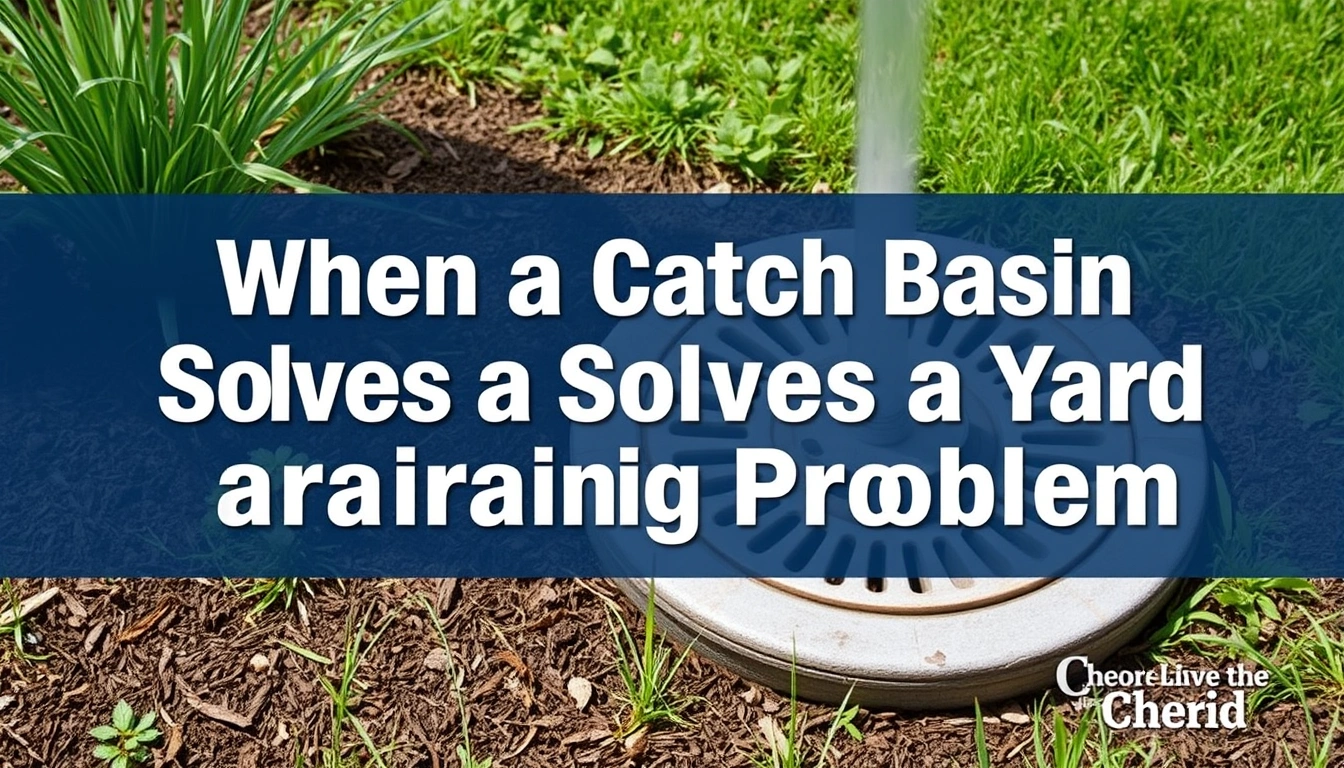
A catch basin is the right fix when the water has a collection point and a path out. That simple test separates “where water sits” from “why it sits.” If the yard’s low point is obvious, the basin can capture it. If the grade is wrong everywhere, the basin is only a local patch. Not magic. Just plumbing.
Look for these signs. First, the wet area stays limited to a spot smaller than a patio or driveway apron, often around a corner, the foot of a downspout, or the bottom of a slope. Second, the problem returns after ordinary storms, not just rare cloudbursts. Third, you can trace where the water is coming from: a roof edge, a paved surface, or a hillside run-on. Fourth, there is room for a pipe run that falls continuously. A common drainage rule of thumb is to maintain slope in the pipe, often around 1/8 inch to 1/4 inch per foot depending on pipe size and site conditions; the exact slope depends on the system design, but zero slope is usually trouble. The City of Portland’s residential drainage guidance, for example, emphasizes that drain lines need continuous fall to function.
What a generic article gets wrong is treating every puddle the same. A wet spot near a downspout is not the same thing as a lawn that stays squishy because the subsoil remains saturated; those are different animals. A catch basin handles the first case far better. It also works when you want to collect water from a grated area such as the edge of a driveway or a paved court, where a surface inlet can grab flow before it sheets across the yard.
I would ask one more question before choosing it: where does the water go after the basin catches it? If the answer is “nowhere,” the basin is a bucket in the ground. A good outlet might be daylight at a downslope edge, a dry well sized for the site, or a storm connection where local code allows it. If you cannot name the outlet, you do not yet have a solution.
What does a catch basin actually do in a yard drainage system?
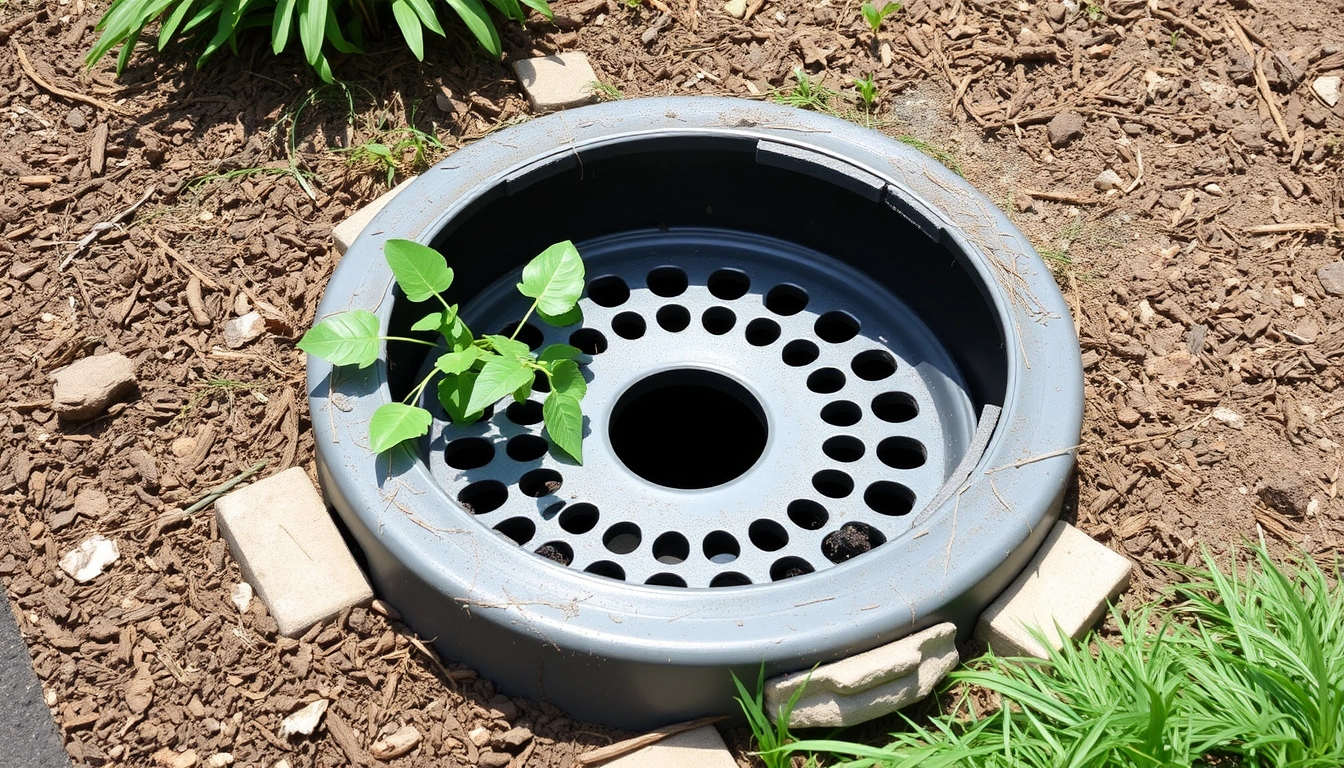
A catch basin intercepts surface runoff, holds debris in a sump, and feeds cleaner water into a drain line. That lower chamber below the outlet pipe is what gives sand, grit, and leaf fragments a place to settle instead of clogging the line. Miss that part, and the whole thing gets misunderstood. People look at the grate and think that is the device; it is not. The body below is what keeps the system serviceable.
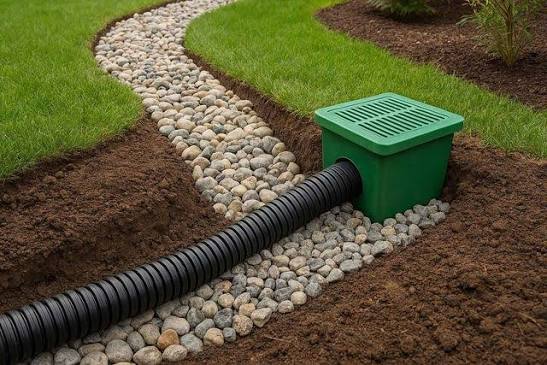
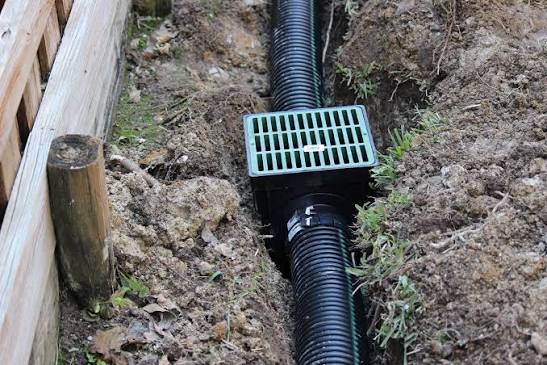
Usually, the basin sits flush or nearly flush with finished grade. Water enters through the grate, drops into the basin, and exits through a side outlet connected to smooth-wall pipe or corrugated pipe, depending on the design. I prefer smooth-wall pipe for long runs because it carries sediment better and is easier to flush. Pipe diameter commonly starts at 3 or 4 inches for residential work, though the right size depends on expected flow and local practice. A larger roof or paved area may call for more capacity than a small garden corner.
This is where catch basins differ from French drains. A French drain is a perforated pipe in gravel that collects subsurface water along a trench. A catch basin is a point collector for surface water. They are not interchangeable. If your problem is a yard ponding at a low point, a basin can become the entry point to an otherwise conventional drain line. If your problem is groundwater moving through soil, a basin alone will not intercept enough of it.
Honestly, the trade-off is maintenance. A basin works because it traps debris before the pipe does, which means it needs cleaning. Leaves, pine needles, mulch, and roof grit have to come out of the sump and off the grate. If you want a low-maintenance fix with no cleaning access, this is not your best option. The system is simple, but not invisible. According to the University of Florida IFAS extension, routine maintenance is essential for drainage structures that collect debris.
How I would install one step by step
I would install a catch basin by choosing the low point first, then building the outlet path around it. Here is the sequence that keeps the system from failing early.
- Mark the collection point: Place the basin where water naturally settles, usually the lowest visible spot within a 10 to 20 foot drainage area. Verify that the surrounding grade slopes toward that point from at least two sides. If the area is flat or crowned wrong, the problem is grading, not the basin.
- Confirm the outlet route: Lay out the pipe path to daylight, a dry well, or an approved storm tie-in. Verify a continuous fall along the run; even a short reverse slope will hold water and sediment. A spot that requires the pipe to rise and fall is a warning sign.
- Excavate for the basin body: Dig deep enough for the basin, bedding, and pipe connection, often 12 to 24 inches more than the finished grate depth depending on the model. Verify the basin sits stable and plumb. If the base rocks or the sidewalls cave in, the excavation needs correction before backfill.
- Set a compacted base: Place and compact a layer of crushed stone or approved bedding material under the basin, typically a few inches thick. Verify the basin rim will land at finished grade without being forced. If the base is soft, the basin can settle and the grate will sink below the lawn.
- Cut and connect the pipe: Use the basin outlet size the manufacturer specifies, commonly 3, 4, or 6 inches. Verify the connection is watertight and aligned with the planned slope. A kinked pipe or loose coupling will leak soil into the line.
- Install the grate at grade: Set the top so it finishes flush with surrounding soil, turf, pavers, or concrete edge, not proud by more than a small lip. Verify the grate does not trip feet, snag a mower, or sit low enough to become a mud pocket. If the rim is buried, it will stop collecting efficiently.
- Backfill in lifts: Fill around the basin in 6-inch lifts and compact each lift. Verify the basin does not shift as the soil goes in. If the sidewalls bow or the structure floats upward, the backfill is too loose or too wet.
- Test with a controlled flow: Run water into the grate for several minutes from a hose and watch both inlet and outlet. Verify the basin accepts water without backing up and the downstream discharge appears where intended. If water pools around the grate or drains slowly after the hose stops, the line or outlet needs correction.
A good install is quiet and boring. Water disappears into the grate, the sump catches debris, and the outlet carries flow away without a smell, backup, or settlement ring around the top. If the basin needs constant attention after every moderate rain, something in the layout is undersized or misgraded. That math stops working fast.
When should I stop and choose another solution?
A catch basin is the wrong tool when the problem is not point runoff. Here are the situations where I would stop and rethink the plan.
The whole yard stays wet for days: That usually means poor soil infiltration, a high water table, or broad grading issues — Use regrading, soil amendment in limited cases, or a French drain system instead of a single basin.
Water comes up from the ground, not across the surface: That is groundwater or seepage, not runoff — A basin will only collect what reaches the surface; address subsurface drainage or site hydrostatic pressure instead.
You have nowhere acceptable to discharge water: A basin without a legal or practical outlet just stores water temporarily — Stop and design the downstream path before digging.
The line must cross under a foundation or retaining wall with no sleeve or plan: That raises the stakes of a leak or blockage — Reroute the drain or get qualified site help for the structural crossing.
The area is dominated by silt, mulch, or roof grit: Heavy fine debris can clog even a good basin if maintenance is ignored — Use a larger sump, a more accessible grate, or a different collection strategy and plan for regular cleaning.
The low point is in a driveway wheel path or other load-bearing spot: Traffic loads can crush weak basin bodies or lids not rated for the job — Use a traffic-rated unit and a proper base, or move the inlet out of the wheel path.
Those are not minor concerns. They decide whether the basin drains a yard or turns into a recurring repair. In drainage work, the system that looks easiest is often the one that punishes the smallest mistake.
The mistakes that make catch basins fail
Most failures come from placement, slope, and neglect. I see the same errors again and again because the basin itself looks straightforward.
One common mistake is setting the basin too high or too low. Too high, and water bypasses the grate. Too low, and the basin becomes a muddy pit around the rim. The correct alternative is to match the grate to finished grade and the direction of surface flow, not to the excavation bottom.
Another mistake is using the basin as a substitute for grading. A basin can collect water, but it cannot create drainage where none exists. Then you get standing water around the basin after every storm. The better choice is to fix the slope so the basin receives water from a defined area, usually with a subtle 1% to 2% surface fall if the site allows.
A third error is undersizing the outlet pipe or ignoring sediment. A 3-inch line may be fine for a small inlet, but if the basin serves a larger hardscape area, the line can back up during intense rain. The alternative is to size the pipe for the expected runoff and choose a basin with a sump deep enough to trap debris.
A fourth mistake is discharging too close to the house. Even if the basin works, the water can simply reenter the problem zone or saturate a foundation area. The alternative is a discharge point that clearly moves water away from the structure and downhill when possible.
A fifth is skipping maintenance access. If you cannot lift the grate and clean the sump with a hand scoop or small shovel, the basin will clog sooner than you expect. I would rather place one basin where I can reach it than two in a location nobody can service. The cost of the wrong placement is recurring cleanup and early replacement. Small detail, big headache.
What if my yard has pavers, a driveway edge, or a slope?
A catch basin still works, but the inlet details change. On pavers or concrete, the grate usually sits in a hard-edged setting so the surface water reaches it cleanly. The surrounding finish must direct water to the inlet without ponding at the edges. On a driveway, I would pay close attention to load rating. If vehicles cross the basin, the lid and body need to be designed for that use, not just for turf.
On a slope, I would place the basin where the flow concentrates, often near the toe of the slope rather than halfway up it. A basin halfway up a slope can miss the fastest runoff, especially during short, intense storms. At the toe, it can collect the water after it has gathered speed. The trade-off is that steeper flow carries more sediment, so the sump needs enough depth and the grate needs regular clearing.
If the yard has clay soil, the basin can still help, but the discharge path matters even more because the surrounding ground resists infiltration. Clay does not automatically disqualify the basin; it just means I would not rely on seepage into adjacent soil as the only exit. A daylight outlet or a properly sized dry well becomes more important.
If the site gets freeze-thaw cycles, I would keep the inlet free of standing water as much as possible and avoid shallow pipe runs that freeze solid. In cold climates, shallow drainage can fail for weeks at a time if water sits in the pipe. That makes the grade and outlet choice more important than the basin body itself. Standards such as ASTM D2729 for PVC sewer and drain pipe are often referenced in drainage work, and the basin should match the pipe and load conditions around it. Cold weather is a sneaky troublemaker.
FAQ
How big should a catch basin be for a yard?
The right size depends on the